1
Column Stitches (Satin Stitches)
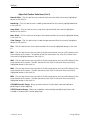
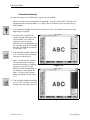
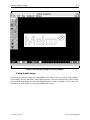
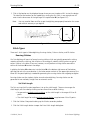
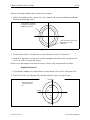
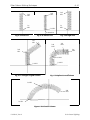
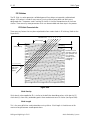
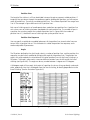
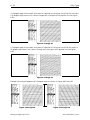
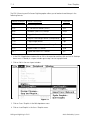
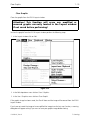
enter the letter
here and generate
lock stitch
sequence
3 - 19
first Mk2
first Mk3
Mk1 to start
third Mk2
second Mk2
fourth Mk2
second Mk3
final Mk2
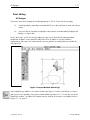
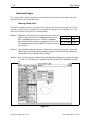
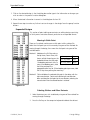
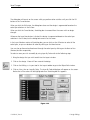
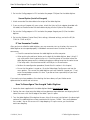
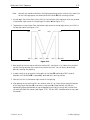
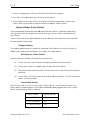
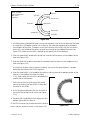
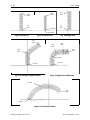
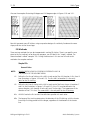
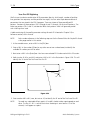
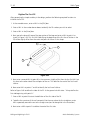
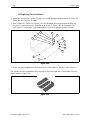
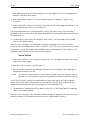
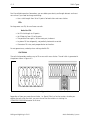
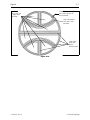
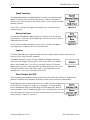
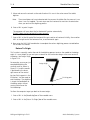
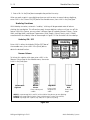
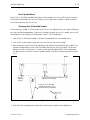
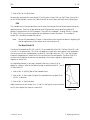
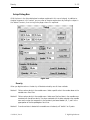
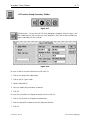
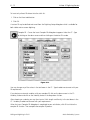
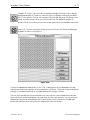
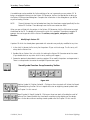
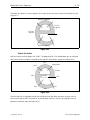
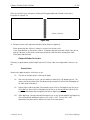
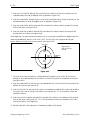
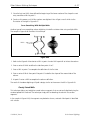
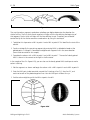
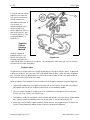
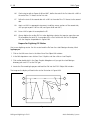
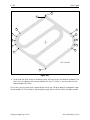
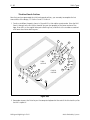
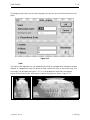
Figure 3-25
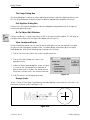
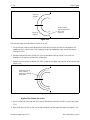
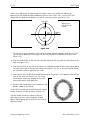
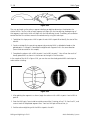
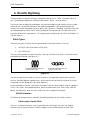
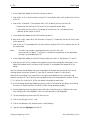
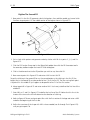
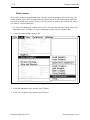
3. We have previously plotted the letter into two arc segments since the circumference of the letter
c is more than 180 degrees rotation. For uniformity, we made the segments equal, divided at
the mid-point of the letter. Therefore, we will want to enter the first Mk3 (for the first column
on an arc) in the middle of the column and half way around to the middle of the letter (see
Figure 3-25). Notice that the Mk3 is defined by the specific rule for method one.
4. Enter the second Mk2 to define the end of the inside line of the column at the midpoint of the
letter (see Figure 3-25).
5. Enter the third Mk2 to define the end of the outside line of the column at the midpoint of the
letter (see Figure 3-25).
As rule #5 of the basic rules for columns indicates, the start of the second column is already
defined by the previous Mk2, Mk2 sequence.
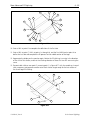
6. Enter the second Mk3 in the middle of the column, mid-way around the bottom portion of the
letter c, in the middle of the letter (see Figure
3-25). Again notice that the Mk3 is defined by the
specific rule for method one.
7. Define the end of the inside wall of the second
column by entering the fourth Mk2 at the end of
the letter on the inside.
8. Finish the column definition with the final Mk2 at
the end of the outside line of the arc (see Figure
3-25).
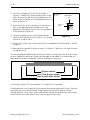
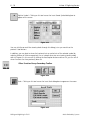
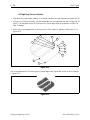
9. Generate the standard lock stitch sequence at the
bottom right end of the letter c.
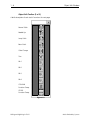
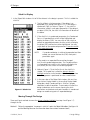
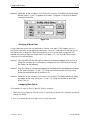
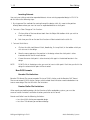
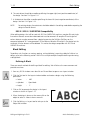
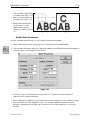
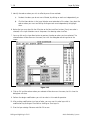
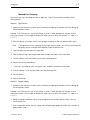
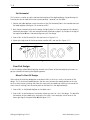
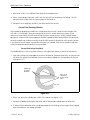
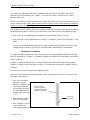
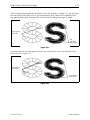
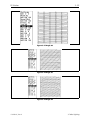
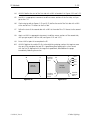
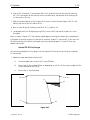
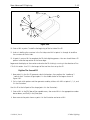
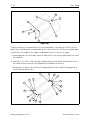
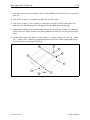
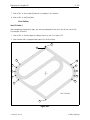
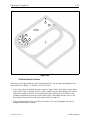
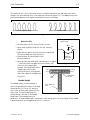
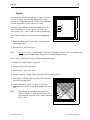
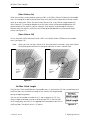
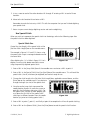
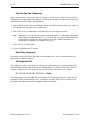
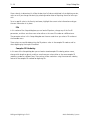
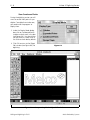
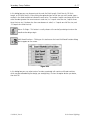
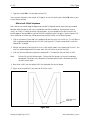
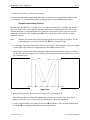
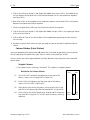
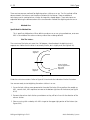
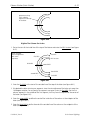
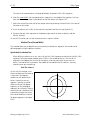
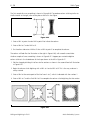
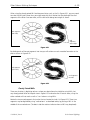
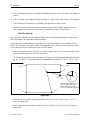
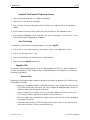
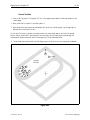
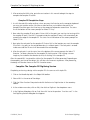
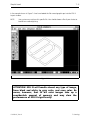
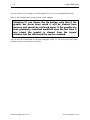
On the EDS III monitor you should now see the letter c
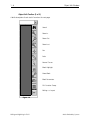
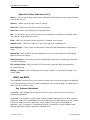
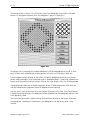
sewn in column stitches as shown in the Figure 3-26.
110282-01, Rev A
Figure 3-26
3. Tablet Digitizing