1
Introduction to AHAS
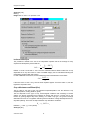
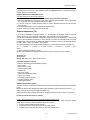
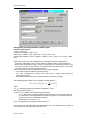
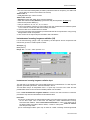
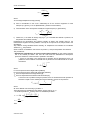
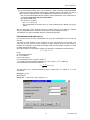
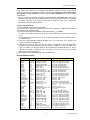
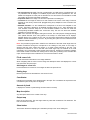
- First select the type of image to be incorporated by choosing the right one from the drop-down
menu.
- Then, browse in the HD or network to get the image by pressing "select image"
- Finally press "add" to add it into the system.
Context sensitivity menu
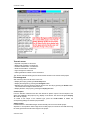
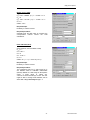
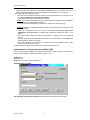
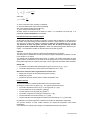
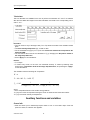
Right click an image displayed in the project window list to access the context sensitivity menu,
which summarizes the most significant functions for images in AHAS:
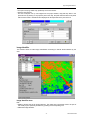
• Show map:
displays the map
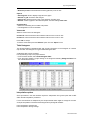
• Show histogram:
graph: displays the graph histogram
table: displays the table histogram
• Show pixel info:
access the cursor info function
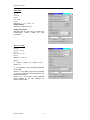
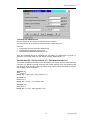
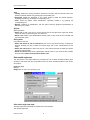
• Image properties: Displays the characteristics of the file. The user can add comments on
the file type.
Tips and Tricks
• When performing the calculations, be sure that all ILWIS pixel Info box, map windows and
tables must be closed.
• Preferably install ILWIS in the default directory c:\ilwis22
• ILWIS works independently from AHAS, so you might use it at the same time but never when
AHAS is performing a calculation. In this case, be sure that all ILWIS pixel Info box, map
windows and tables are closed.
• After one image has been created in via AHAS, it will be stored in the working directory. ILWIS
treats this image as any other, so the user can apply all ILWIS functions over the created
image.
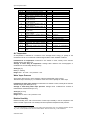
• Absolute maximum amount of characters allowed in an output map, table or point map is 8,
but a maximum of 7 is recommended.
• In order to reduce the amount of undefined pixels in many outputs, be certain that the image is
cloud free, the atmosphere is clean (no smokes) and all radiometric anomalies have been
masked (fires, high reflective bodies, sunglint).
• After the installation, a file named AHAS.ini is installed in your Windows directory, where paths
for running ILWIS2.2 and AHAS.exe are defined. By default the application will be installed in
c:\program files\ahas.
13
AHAS User Guide