1
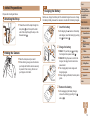
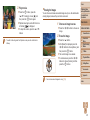
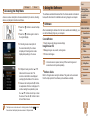
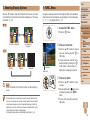
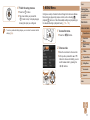
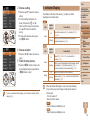
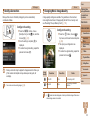
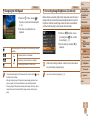
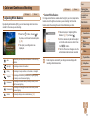
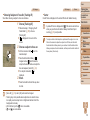
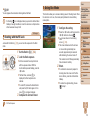
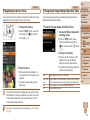
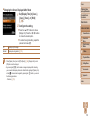
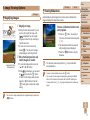
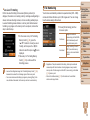
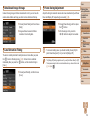
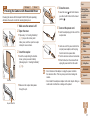
Cover Still Images Configuring Print Settings 1 Access the printing screen. Follow steps 1 – 6 in “Easy Print” (= 93) to access the screen at left. 2 Configure the settings. Press the <o><p> buttons to choose an item, and then press the <q><r> buttons to choose an option. Default Date File No. Both Off Default Off On Red-Eye 1 Matches current printer settings. Prints images with the date added. Prints images with the file number added. Prints images with both the date and file number added. – Matches current printer settings. – Uses information from the time of shooting to print under optimal settings. Corrects red-eye. No. of Copies Choose the number of copies to print. Cropping – Specify a desired image area to print (= 94). Paper Settings – Specify the paper size, layout, and other details (= 95). Still Images Cropping Images Before Printing (Cropping) By cropping images before printing, you can print a desired image area instead of the entire image. 1 Choose [Cropping]. After following step 1 in “Configuring Print Settings” (= 94) to access the printing screen, choose [Cropping] and press the <m> button. A cropping frame is now displayed, indicating the image area to print. 2 Adjust the cropping frame as needed. To resize the frame, move the zoom lever. To move the frame, press the <o><p><q><r> buttons. To rotate the frame, press the <m> button. Press the <n> button, press the <o><p> buttons to choose [OK], and then press the <m> button. Preliminary Notes and Legal Information Contents: Basic Operations Basic Guide Advanced Guide 1 2 3 4 5 6 7 8 Camera Basics Smart Auto Mode Other Shooting Modes P Mode Playback Mode Setting Menu Accessories Appendix Index 3 Print the image. Follow step 7 in “Easy Print” (= 93) to print. 94