1
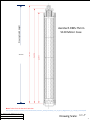
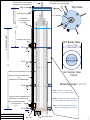
Nose Cone Assembly Procedure
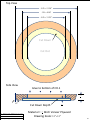
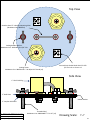
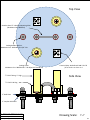
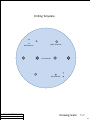
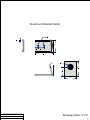
Bulk Plates
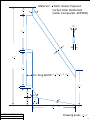
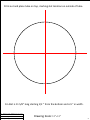
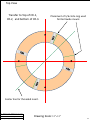
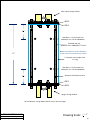
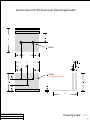
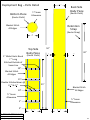
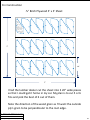
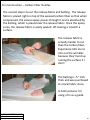
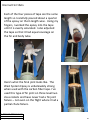
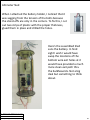
Drill the four holes in the bulk plate. Use the inside of the shoulder for alignment.
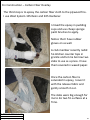
Temporary attached the bolts and coupler nuts to the back side of the bulk plate.
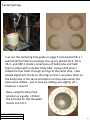
For each coupler nut, align a flat edge to the outside, flush with the edge of the bulk plate.
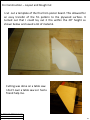
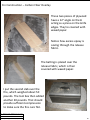
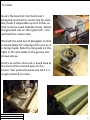
Using JB Weld epoxy (quick cure), place a small amount on the edge of the coupler nut that is flush
with the bulk head outer edge.
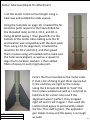
Slide the assembly inside the nose cone shoulder and allow the epoxy to cure.
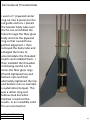
Carefully remove the bolts and bulk head. The coupler nuts should be perfectly aligned.
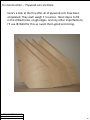
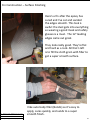
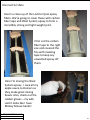
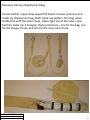
Using the carbon fiber tape and West System Epoxy thicken to mayonnaise consistency, carefully wrap
the tape around the inside of the shoulder covering the coupler nuts. Take care not to the get epoxy
on the inside threads of the nuts.
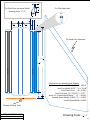
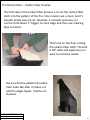
Drill the two holes for the U-Bolt.
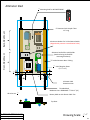
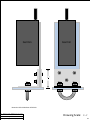
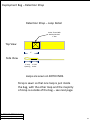
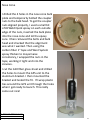
Cut a piece of G10 for the GPS mounting plate.
Place the G10 sheet inside the mounting bracket and mark the location of the holes and drill.
Using the back piece of the GPS unit, mark where the holes for the attachment screws go and drill.
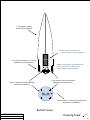
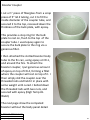
Assemble all components to test for fit and function.
Weigh the assembled Nose Cone.
Weight: 29.6oz
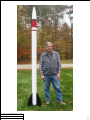
D-REGION TOMAHAWK
AirFrame Assembly Procedure
Jeffery H. Oppold 2/25/2012
31