1
Page 6 of 8
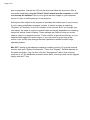
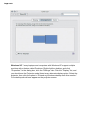
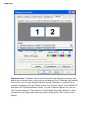
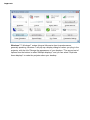
NOTE: For many PCs with Windows operating systems, the FN+F5 keyboard
shortcut is the way to toggle display modes. However, it can vary by manufacturer,
and you may need to consult your user manual or manufacturer's website for more
information.
Once you've a) got the Point 2 View up and running and capturing an image, and b)
the computer outputting to the projector (which is, in turn, projecting onto the
screen), you're almost there. You want to do two final things. First, set the optimal
resolution of the Point 2 View. Generally, you'll want to set it as high as the projector
can handle; the Point 2 View's highest resolution is 1600 x 1200. If you don't
know the maximum resolution your projector can handle, do some trial and error to
see what looks best, which is easy enough. In the upper right-hand corner of the
Point 2 View interface, you can change resolution through a simple pull-down menu.
The last step is to make your image full-screen, so your image is nice and large on
the projection screen. This is easy, too, using the Point 2 View interface. On the
left-hand side of the interface, there are three tabs that stick out. The bottom one