1
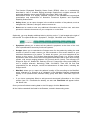
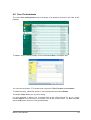
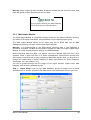
Based on the information you supplied, iMed determines automatically whether the
McDonald criteria for spatial dissemination of brain lesions are fulfilled. By clicking the
button
, you can launch a tutorial presenting contemporary guidelines from an
International Panel of experts on the diagnosis of MS, and illustrated with sample MRI
scans.
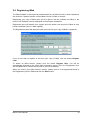
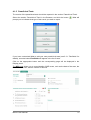
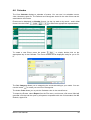
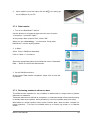
Images can be attached to each MRI scan in the tab Images. To add an image from your
file system, click the button
located at the bottom-right of the screen. Most common
image types are supported (JPG, GIF, PNG, etc.). The images are copied into the iMed
database and shown as a new thumbnail at the bottom of the screen.
To delete an image, select it and click the button
at the bottom-right of the screen.
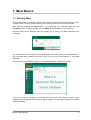
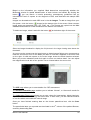
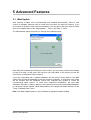
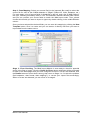
Select an image thumbnail to display the full picture in the large viewing area above the
thumbnail.
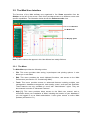
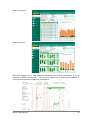
As you move the mouse over the large image, a dotted square follows your movements to
track the zoom area. Click on the detail you want to view and it appears in the zoom view
on the right. A solid red square on the main image shows the detail location selected.
Move your mouse elsewhere and click again to zoom on another detail. You can adjust
the magnification level with a four-position cursor located above the zoom view.
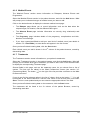
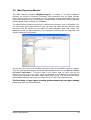
The CSF page allows you to store details of a CSF assessment.
The Evoked Potentials page enables you to indicate ‘Normal’, or ‘Abnormal’ results for
these tests.
The Laboratory Tests page allows you to enter values for haematology, blood chemistry,
thyroid function, immuno/virology and other tests. In each case, you can indicate whether
or not the values are outside the normal range.
Once you have finished entering data on the chosen paraclinical test, click the Save
button.
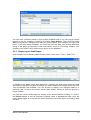
The paraclinical tests you reported are then listed in the 3rd column of the patient Browser,
sorted by descending date.
iMed 6 User Manual
22