1
Hip Endoprostheses - Procedure
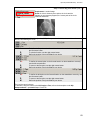
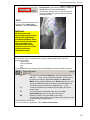
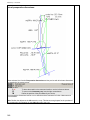
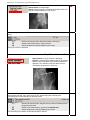
Step 8 Select cup 8
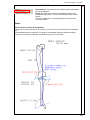
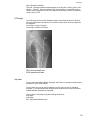
Requirement: A scaled image and if necessary the hip joint
center (HJC)
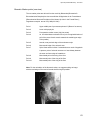
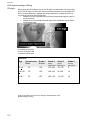
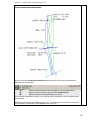
Result: Using this function, select the manufacturer, type, and size
of a cup. Insert the cup at the required position and with the
correct inclination
WARNING:
All dimensions and
measurements given by
the Orthopaedic
Application prostheses
database derive from
original manufacturers
data or templates. An
exemption from liability
exists for incorrect or
false original prostheses
manufacturer data.
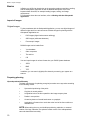
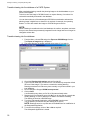
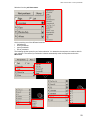
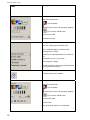
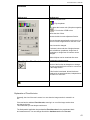
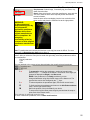
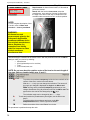
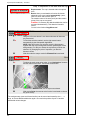
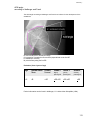
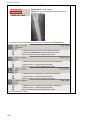
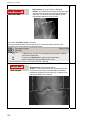
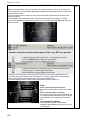
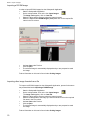
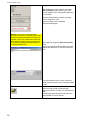
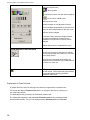
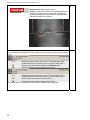
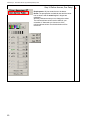
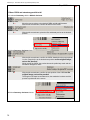
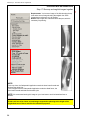
After you select the Insert cup function, you must have the last selected type of prostheses at
the mouse pointer. After you selected the color (the line under the right side), select the
prostheses to define the manufacturer:
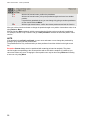
Kind of prostheses
Type
Size
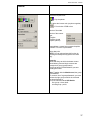
The type attached to the mouse pointer always displays the actual selected prostheses.
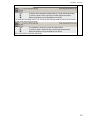
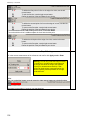
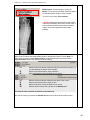
L●
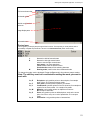
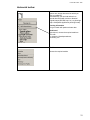
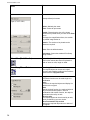
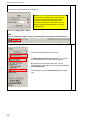
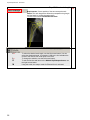
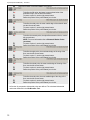
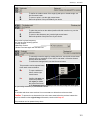
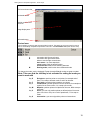
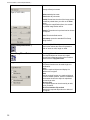
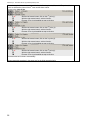
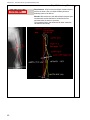
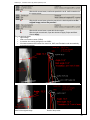
To position the prostheses temporary, use the left mouse button. In
general, the prostheses appears with an inclination of 45°. With the keys
← →, change the inclination. The amount of the angle you change is
displayed as Angle in the Macro tool.
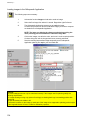
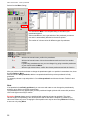
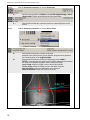
Note: If the prostheses in not finally positioned, you can change all attributes using all
pull-down menus of the Macro tool. The type and size can also be changed by the ↓↑
keys.
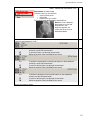
L●
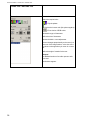
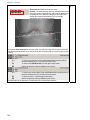
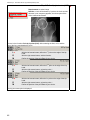
To take and position the prostheses any time again, use the left mouse
button.
R
To finally position the prostheses and return to the Hip-Endoprostheses
menu, use the right mouse button.
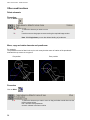
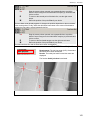
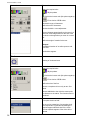
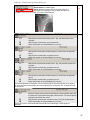
M
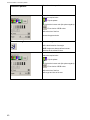
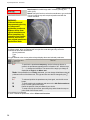
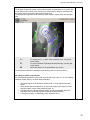
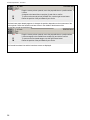
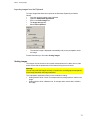
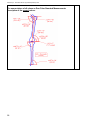
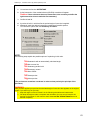
Define the position of the point Free of your choice.
To snap to the hip joint center, press the p key and activate the snap-topoint mode of the mouse cursor.
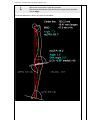
The prostheses is positioned.
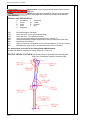
To move or delete the prostheses, refer to Often used functions.
54