1
2. Clean the motor compartment and the motor to ensure that the motor cooling fins
work efficiently.
3. Generally inspect the machine for damage and loose or warn parts.
Note. It is recommended that you use a Teflon based lubricant.
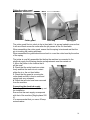
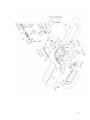
Drive belt replacement.
Note. Your machine is fitted with a double drive belt system. Always replace both
belts with a matched set. Never replace only one belt, as this will cause vibration,
excessive ware to bearings, and result in a poor work finish.
Note. Disconnect the power to the machine.
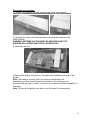
1. Remove the side cover.
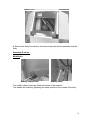
2. Loosen the motor clamping bolts.
3. Remove the drive belts.
4. Fit the new belts.
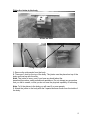
5. Re-tension the belts. There should be a 3/16” deflection when the belt is pressed
with moderate finger pressure. Tighten the motor clamping bolts.
6. The drive belts should be checked after running the machine for approximately 10
hours. The belts bed into the pulleys, and will slacken off slightly. If they are not
adjusted slippage may accrue and this will cause early belt failure. There should be
a 3/16” deflection when the belt is pressed with moderate finger pressure.
7. Refit the side cover before running the machine.
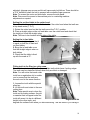
Adjusting the table gibs.
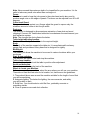
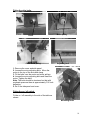
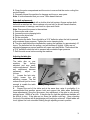
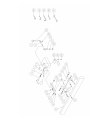
The table gibs on your
machine
are
factory
adjusted and may never
require adjustment. Should
any adjustment become
necessary,
adjust
as
follows:
1.
Loosen the lock nuts.
Lightly loosen the gib
adjusting screws. The set
screws should just be loose
enough to enable the table Gib adjusting screws
to move freely.
2.
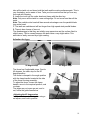
Support the end of the table and at the same time, raise it up slightly, (it is
recommended that another person hold and support the table when performing
these adjustments). Snug the gib screws. Any adjustment of the gibs is very minute,
perhaps even 1,000th of an inch. If the gibs are too tight the adjustment handles will
be difficult to turn. If the gibs are too loose the tables could sag. Keep checking
the level of the tables with a straightedge until leveling is achieved. When tables are
level, tighten t he lock nuts while holding the gib adjusting screw in position.
21