1
Getting Started
1--3
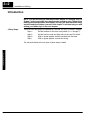
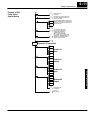
The beginning of each chapter will list the
key topics that can be found in that
chapter.
Chapters
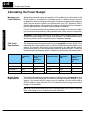
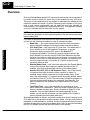
Below is a table showing a summary of contents provided within each section of this
manual. The manual is organized into the following four chapters:
1
2
1
contains information you need to know to get started. It
includes a brief description of a remote I/O system, the basic
Getting Started
components of the system, and an overview of the steps
necessary to develop a working system.
shows you how to design your system. It includes a tutorial
on
how to use worksheets to keep track of all the remote I/O
Designing Your Remote
and the address assignments for remote I/O. It provides the
I/O System
framework for developing the necessary information you will
need for programming and hardware setup.
3
Installation and
Communication Wiring
Guidelines
shows you how to install your modules. This chapter
includes wiring information, shows you how to set the rotary
dial and dip switch on each module, how to daisy chain the
remote units, how to size and use termination resistors, and
how to connect the Run Output circuit.
4
Writing the Setup
Program
shows you how to use DirectSOFT to write the remote I/O
setup program. This chapter takes the information developed
from your worksheets and helps you develop a working
program.
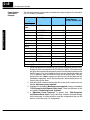
Appendices
A
Additional information is available in the following appendices.
Remote I/O Worksheet
B
Reserved Memory
Tables
C
Determining I/O
Update Time
included is a blank worksheet that can be copied and used
for designing your system.
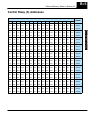
shows the reserved memory locations for the transfer of
remote I/O data. It is cross-referenced by data type.
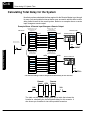
shows you how to calculate the amount of delay inherent
with the transfer of data back and forth between the master
and its remote slaves. Provides tables for both 19.2 kB and
38.4 kB, based on number of I/O points used.
Remote I/O
Getting Started
Key Topics for
Each Chapter