1
3. Ensure that you have fresh batteries in the encoder and that they are inserted correctly.
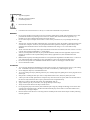
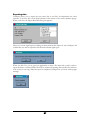
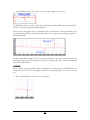
4. If this is the first time you run Cardiopro, check the DIP switch settings inside the
encoder's battery compartment. Although these are set to run with your software at the
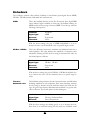
manufacture, verify that they are set as follows:
5. Connect the desired sensors in their assigned inputs. The sensor/input correspondence
is described in the next section.
Connecting sensors
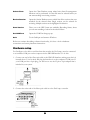
The next thing to do is to connect the various sensors to the proper encoder inputs.
Cardiopro 2.0 will expect to find the following sensors/input configuration:
A - EKG
B - BVP
C - Abdominal Respiration (Resp 1)
D - Thoracic Respiration (Resp 2)
E - Temperature
F – Skin Conductance
Note: The BVP sensor input assignment is different, in version 2.0, from what it was in version 1.0. For this
reason, the BVP data is not available for review when opening old session data files from within version 2.0.
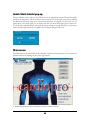
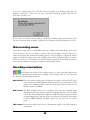
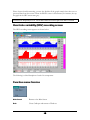
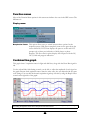
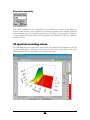
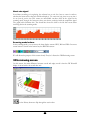
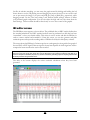
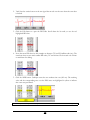
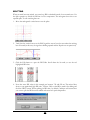
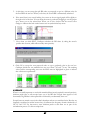
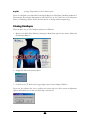
When the software is running, you can find out about the correct encoder input by placing
the mouse cursor over the sensor type indicators in the upper right corner of the screen. A
short help message pops up; describing which Encoder Input the particular sensor should be
connected to:
Sensor placement
EKG sensor:
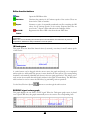
The EKG sensor requires the use of an extender cable and three Thought Technology UniGel electrodes.
10