1
User Management Manual v1.1
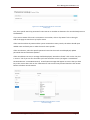
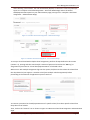
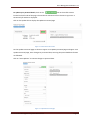
Select “ALS” from the District/Office dropdown list (see Figure 2.8-1 Select ALS office)
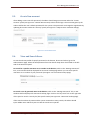
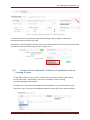
Click on the “Manage Personnel” button to display “Personnel Lookup” window. (see Figure
2.8-2 Select ALS personnel).
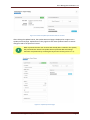
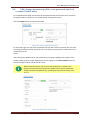
Click on the “By name” button and enter name of the user to be added. Click Search button.
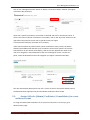
A verification message shall be displayed informing that the record was not found. Click on
the “No, this is correct!” button to confirm that you have key in the correct data. A pop up
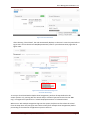
message shall appear with the name you have entered (see Figure 2.8-3 Create New
Record). Click on “New Record” to enter new personal data then click Create button to
finalize record creation.
Figure 2.8-3 Create New Record
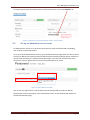
After adding a new record for personnel, the admin should assign a username under the
“Create Account” panel (see Figure 2.8-3 Create New Record).
After creating the account, you can add ALS-Admin/ALS Facilitator role to the user under the
“Access List “ panel.
2.10.
Remove ALS role (Admin/ Facilitator/ Consolidator)
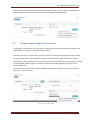
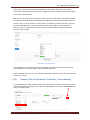
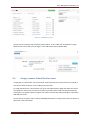
Go to administration page, select ALS from the dropdown list located at the left side part of
the Personnel panel (see Figure 2.10-1 Removing ALS Admin role). Click on the Remove icon
under the Admin panel.
Figure 2.10-1 Removing ALS admin role
User Accounts Management System Manual v1.1
Page 12