1
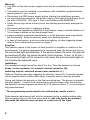
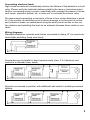
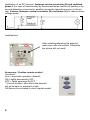
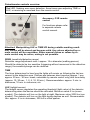
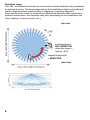
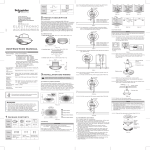
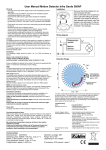
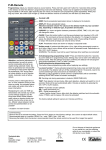
Warning! Any work on the main power supply must only be completed by trained specialists. The product must be installed in accordance with installation guidelines/standards specific to your country. Disconnect the 230V power supply before starting the installation process. As a precautionary measure, the power supply of the light should always be fitted with a (250VAC, 10A) type C fuse in accordance with EN60898-1. Faulty lamps may cause a short-circuit and thereby permanently damage the device. Disconnect power prior to replacing a lamp. To ensure the operational reliability of the detector, keep a minimal distance of 1m to lamps installed on the same height level. Lamps installed underneath the detector or in the detection area may disturb the functionality. Keep the detector away from heating devices. In case of malfunction, such as continuous lighting, or false triggering please refer to the troubleshooting section on page 7. Function The detector reacts to the motion of heat (positive or negative in relation to the environment). If a person approaches the monitored area, the device will turn on the connected light automatically. If the person leaves the area, the light will be switched off after the preset duration (short impulse, 10 sec. to 20 min.). The connected light will be turned on only when the environmental light value is below the adjusted value. Installation The installation height should be about 2 to 4 m. Wire the detector as follows: phase / outer conductor (L); neutral-/ neutral conductor (N); switching output / switched phase/ outer conductor (L’) Optional: External manually triggering the detector (clamp R). Connected phase via an impulse switch (without pilot lamp). Keep the wire as short as possible. Screw and tighten the detector in the flush mounting box. The device is operational after approx. 1 minute from connecting to mains voltage. After this duration the detector can be programmed either by P-IR remote control (*) or by manipulating potentiometers. * The programming mode needs to be activated by remote control. Potentiometer adjustments will only be accepted during a stable working state. After programming, put the lens cover back on (the lens has to be mounted, otherwise the detector may not work or never turn off the light). 2