1
Руководство пользователя
GeoScan32
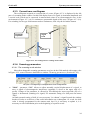
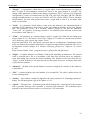
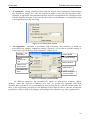
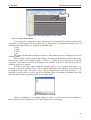
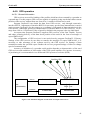
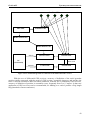
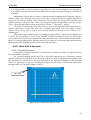
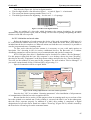
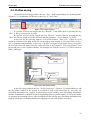
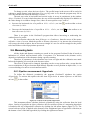
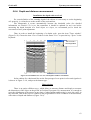
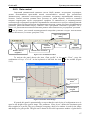
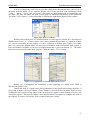
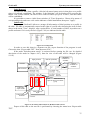
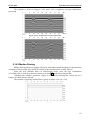
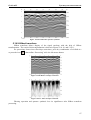
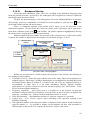
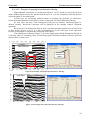
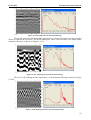
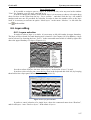
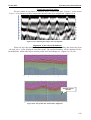
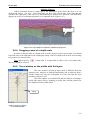
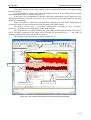
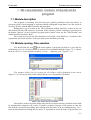
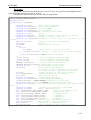
In mode of interpretations a name and a color is assigned to each label on a profile. If
neither was set by the user in advance, then all labels are displayed in red color with the numerical
name which corresponds to an installation order on a profile (Figure 5.9.7).
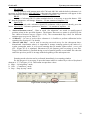
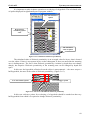
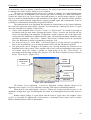
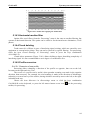
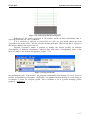
To hide labels or to show the hidden labels, choose the item “Show markers” in the menu
"View ", click the mark
in toolbar or press keys “Ctrl+L” in the keyboard.
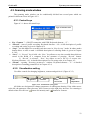
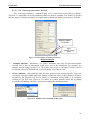
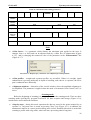
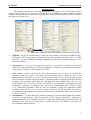
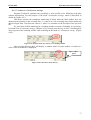
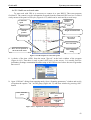
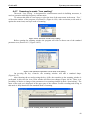
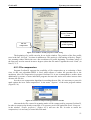
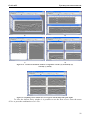
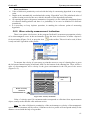
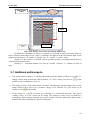
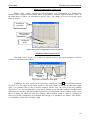
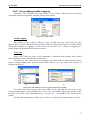
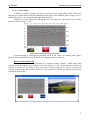
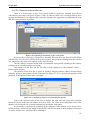
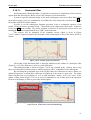
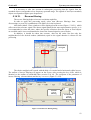
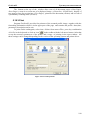
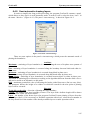
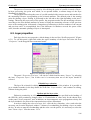
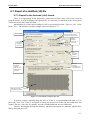
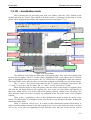
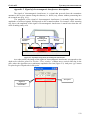
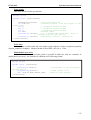
Editing of labels is carried out in the panel “Trace properties” which opens from a window
“Viewfinder” by pressing the button "Properties" (Figure 5.9.8)
Trace number
Label installation
indicator
Label name
Number of
point on the
trace
Select trace
Select color
Figure 5.9.8. Editing of labels in a window «Properties of a trace”
Installation and editing of labels
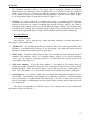
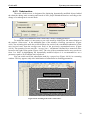
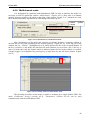
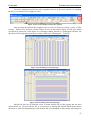
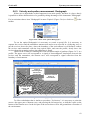
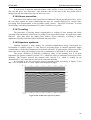
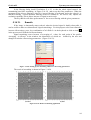
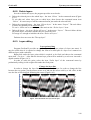
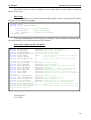
In order to install a label, it is enough to click twice any place of a profile with the left
mouse button. After a label is installed, the name appropriate to a serial number relative to the
beginning of a profile is assigned to it. For example, if a new label is installed on a profile (Figure
5.9.7) between label «2» and label «3», the name of a new label will be «3», and the names of
labels «3» and «4» become «4» and «5», accordingly.
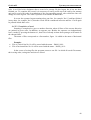
Another way of label installation: in a window “Trace Properties” (Figure 5.9.8) by means
of a slide box choose a trace on which you wish to put down a label, choose a point in a window
“Number of point.”, put a tick mark under an inscription “Label” (a notation “Label installation
indicator” in the figure), press button "Apply" or «ОК». This method is more labor-consuming, but
thus it allows establish a label most precisely, if it is necessary.
Label editing is also carried out in a window “Trace Properties”. Here it is possible to
change the name and color. To edit a label, choose a trace and a readout on which it is established
by tools in a window or with the help of the mouse cursor on a profile. The tick in the installation
indicator designates that the label is chosen. After that press button "Color" for color change and in
the displayed window choose any color from a palette or set it independently by opening a tabbed
page “Define color>>”. Enter a name in the corresponding window (Figure 5.9.8) to change the
label name.
All changes will be applied to the label after pressing “ОК” or “Apply”.
74