1
3.4.2 Installation of the Hydra Probe into Soil.
The most critical thing about the installation of the Hydra Probe is the soil needs to be
undisturbed and the base plate of the probe needs to be flush with the soil. To install the probe
into the soil, first select the depth (see section 3.4.3 for depth selection). A post hole digger or
spade works well to dig the hole. If a pit has been prepared for a soil survey, the Hydra Probes
can be conveniently installed into the wall of the survey pit before it is filled in. Use a paint
scraper to smooth the surface of the soil where it is to be installed. It is important to have the soil
flush with the base plate because if there is a gap, the Hydra Probe signal will average the gap
into the soil measurement and create errors.
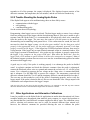
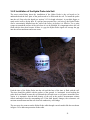
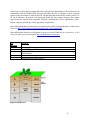
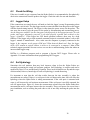
Figure 3.5 Hydra Probe Installed in undisturbed soil.
Push the tines of the Hydra Probe into the soil until the base of the tines is flush with the soil.
The tines should be parallel with the surface of the ground, i.e. horizontal. Avoid rocking the
probe back and fourth because this will disturb the soil and create a void space around the tines.
Again, it is imperative that the bulk density of the soil in the probe’s measurement volume
remain unchanged from the surrounding soil. If the bulk density changes, the volumetric soil
moisture measurement and the soil electrical conductivity will change.
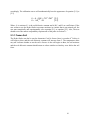
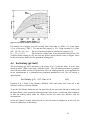
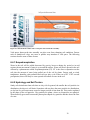
The user may also want to run the Hydra Probe cable through a metal conduit like the one shown
in figure 3.6 to add extra protection to the cable.
21