1
qooxdoo Documentation, Release 1.5.1
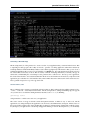
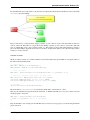
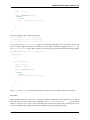
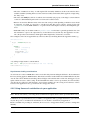
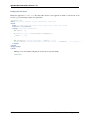
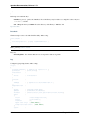
clear: left;
}
#qx1 {
border: solid 2px #ff0000;
}
#ex1 {
border: solid 2px #ff0000;
}
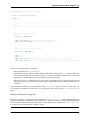
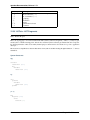
</style>
</head>
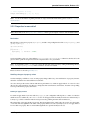
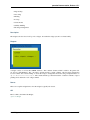
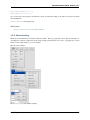
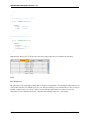
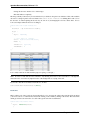
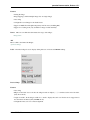
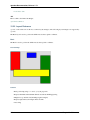
qooxdoo initial step
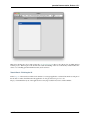
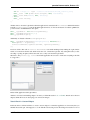
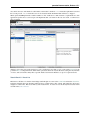
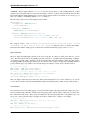
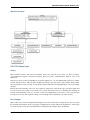
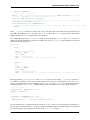
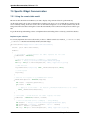
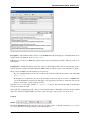
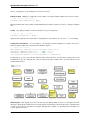
For qooxdoo we will start with creating the low-level skeleton application. This procedure will create a minimal application environment and JS file that contains the low-level qooxdoo library. The benefits are small for this particular
demo but when you want to create a larger application, this comes in handy. You can find more details about this
operation in the Setting up a low-level library section. We create the application with the following command:
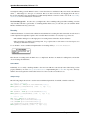
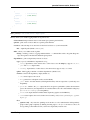
$QOOXDOO_PATH/tool/bin/create-application.py -n $APPNAME -t bom -o $OUTPUT_DIR
$QOOXDOO_PATH is the path to your qooxdoo SDK, $APPNAME specifies your chosen name for the application and
$OUTPUT_DIR is the directory where you want the root folder of the application to be located. The -o bom option
specifies the low-level application type.
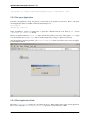
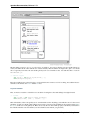
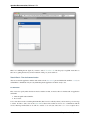
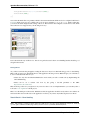
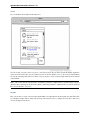
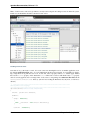
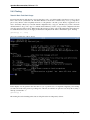
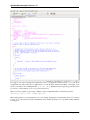
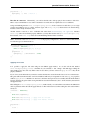
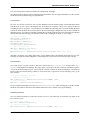
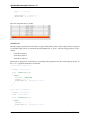
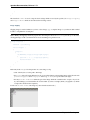
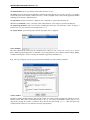
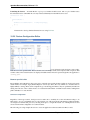
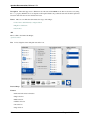
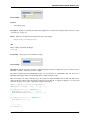
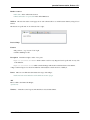
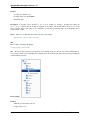
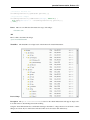
Change to the application folder and you will find a Python script that builds our application:
./generate.py build
This can easily be automated, or integrated into your development environment. Now we have a qx-bom.js file in
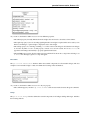
the current directory that we can use in the subsequent steps. You will also find a index.html file that you can use
to paste the above HTML and CSS elements into.
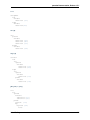
The JavaScript code
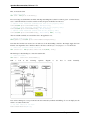
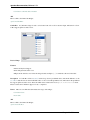
Now we will dive into events, positioning and location, and then creation and showing of an element.
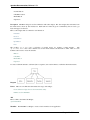
Events
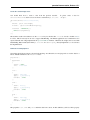
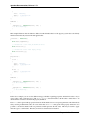
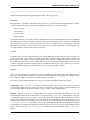
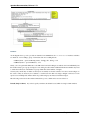
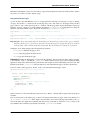
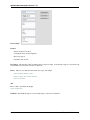
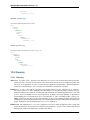
After creating the button, we must attach a click event to it, in order to know when to show the menu. It sounds
easy to add the click event to the button, but even here there are differences between the browsers. IE has the method
attachEvent() (IE9 supports the W3C standard, though) while the other browsers support the standard W3C
method addEventListener(). Also, the handler function of the event treats the this variable as the global
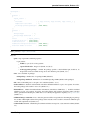
window in IE and as the target element of the event in other browsers. First we fetch the HTML element into a JS
variable:
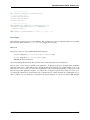
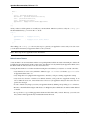
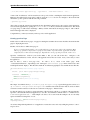
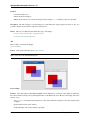
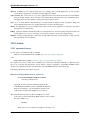
var positionedDiv = document.getElementById(’ex1’);
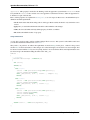
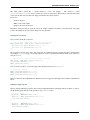
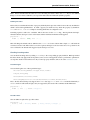
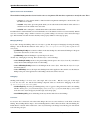
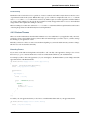
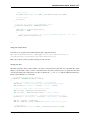
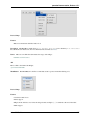
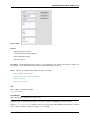
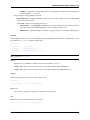
Now we attach the click event. The first version shows how to achieve this in the classical style:
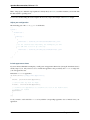
if(!window.addEventListener){
positionedDiv.attachEvent(’onclick’, function(evt){
// processing code here
});
}
else {
5.2. Tutorials
219