1
Chapter 3
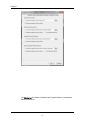
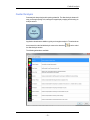
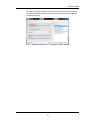
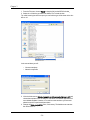
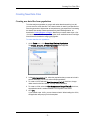
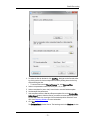
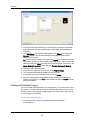
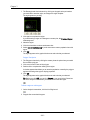
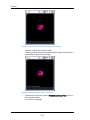
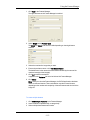
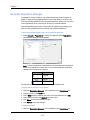
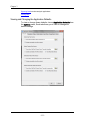
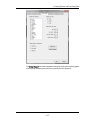
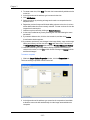
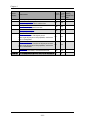
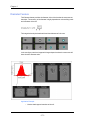
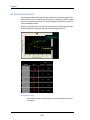
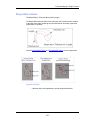
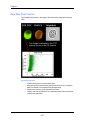
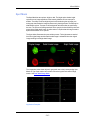
2 To create a new view, Click New. The new view is automatically added to the list
on the left.
3 In the right section of the window, type in a name for the view.
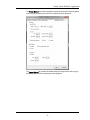
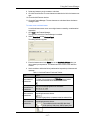
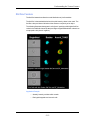
4 Click Add Column.
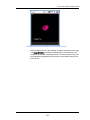
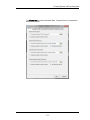
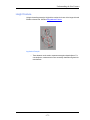
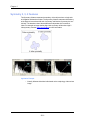
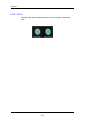
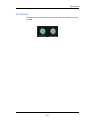
5 Define the column by selecting an image and a mask or a composite from the
dropdown menu.
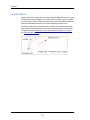
6 Repeat the previous 2 steps until finished adding columns to the view. A column
will be added under the column currently selected. To insert a column click on the
image above insertion point.
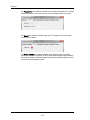
7 Columns may be removed by clicking on Remove Column.
8 A view may be edited at any time by selecting the view and following the same
procedures.
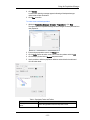
9 If you want to delete a view, click the view to select it, and then click Delete.
A confirmation window appears.
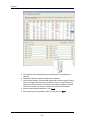
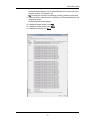
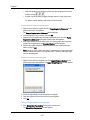
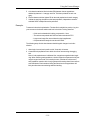
10 If you want to preview any new changes in the Image Gallery, return to the Image
Gallery and choose your new view in the View drop down menu. Then return to
the Image Gallery Properties window and click Preview Changes in Gallery.
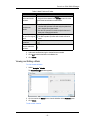
11 Continue customizing the Image Gallery display properties with another procedure in this section, or click OK to finish and save changes or Cancel to finish
and discard changes.
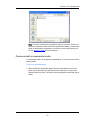
To create a composite
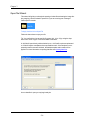
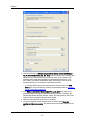
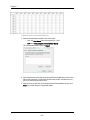
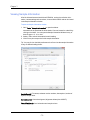
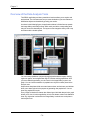
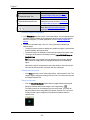
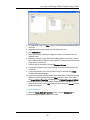
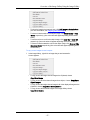
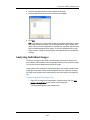
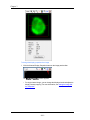
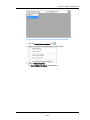
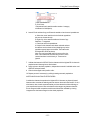
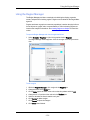
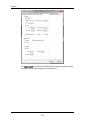
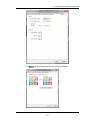
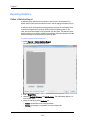
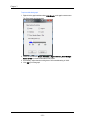
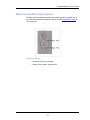
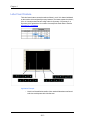
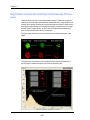
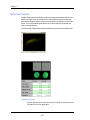
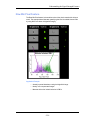
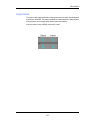
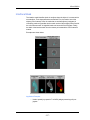
1 Within the Image Gallery Properties window, click the Composites tab.
The list of existing composites is shown on the left.
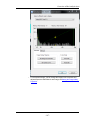
2 In the right section of the window, type a name for the composite or leave blank
to allow the name to be built automatically from the image names added to the
composite.
- 142 -