1
MICROACTIVITY – REFERENCE
User Manual
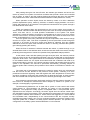
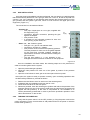
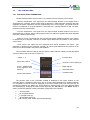
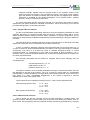
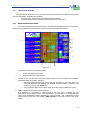
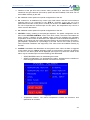
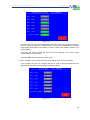
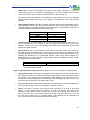
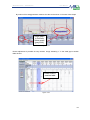
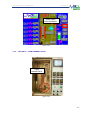
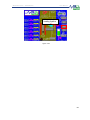
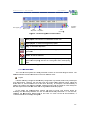
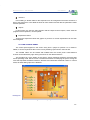
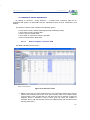
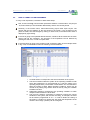
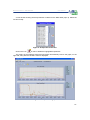
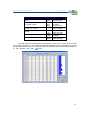
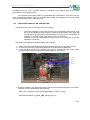
2. Sessions’ Control: In this area the buttons that manage the session are displayed:
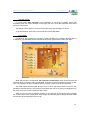
Show All: to display all the device parameters. The previously hidden parameters
can be chosen from the whole list by clicking on them so that they remain in the
shorter list. Choose among all the parameters the ones to work with: to do this, it
is necessary to dropdown the whole list. The icon next to them will turn from red
to green. When pressing SHOW ALL again, only the parameters with the green
icon will remain. The rest will be hidden.
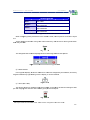
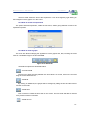
Run/Stop: to start/stop the session. When clicking on Run, the application starts
sending sessions from session number one. The number of the experiment will
appear then on the left bottom corner of the window.
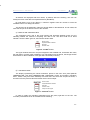
To stop data acquisition, click on the STOP icon in the tools bar or in the
Acquisition menu. Every time the acquisition stops, a file named after the
experiment will be saved.
View: By introducing the number of a session in VIEW, the scroll bar will move in
order to bring it to the middle of the table.
Launch: It launches the session entered in the cell above the button.
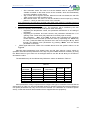
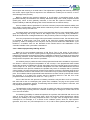
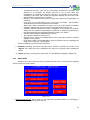
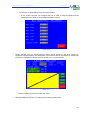
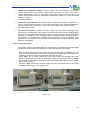
3. Sessions’ Table: The session name and time can be introduced in this area. The
following options can be configured:
Alias: Session name.
Description: Short session description (start, stop, etc)
Session Duration: In seconds.
Next Session #: Number of the session with which the actual session wants
to be linked. In order to connect two sessions’, both sessions’ need to
have a time value.
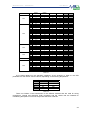
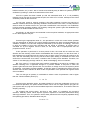
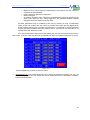
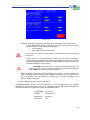
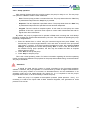
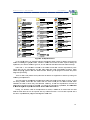
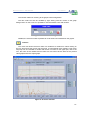
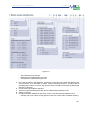
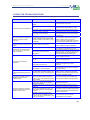
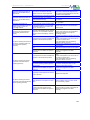
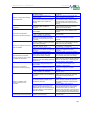
4. Device Table: In this area, the parameters of the Microactivity-Reference devices
are displayed. When opened, only the main parameters for each device are shown
but all the parameters can be displayed by pressing on Show All.
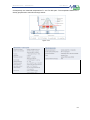
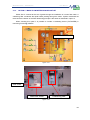
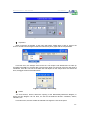
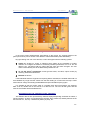
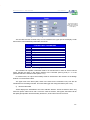
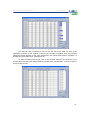
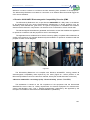
By clicking on Show All, all the designable parameters are displayed. The ones with a
red cross (8) don’t appear in the short display (when Show all is deactivated). Select
any parameter by clicking on its name so that they are activated in the table. The
cross will turn into a green tick (9), which indicates that the parameter will be shown
even after the Show All has been turned off.
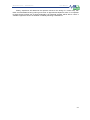
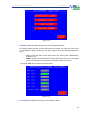
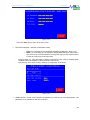
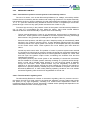
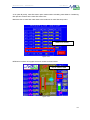
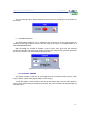
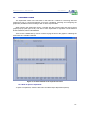
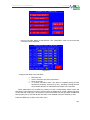
5. Data Table: In this area, introduce the data that is going to be written on the devices
for each session. Data can only be input in a session in the session time has been
filled out. To move from one parameter to another, use the arrow keys of the
keyboard.
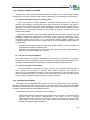
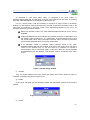
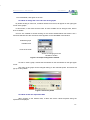
When the session execution has been launched, the current session can be
identified because its column will be displayed in blue. If there aren’t any blue
columns, it means there is not any session being executed.
115