1
AllSync Ethernet Option
User Manual
Installation
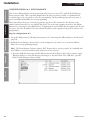
4.Enter the IP address of the AllSync Master you wish to operate remotely - in the pulldown box to the left
of the “Connect” button, and then click Connect.
Introduction
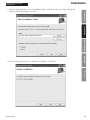
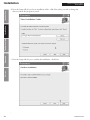
3.With installation complete, now you can run the Remote Control client software. Double-click on the
“ATS Remote Controller” icon on your desktop, or click Start, “All Programs”, “ATS”, then “ATS
Remote Control”.
Installation
Troubleshooting
Glossary
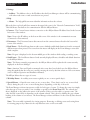
6.To operate the AllSync Master remotely, click on the keys represented on the screen by using the mouse
on your computer. You can also use the following keypad shortcuts (NOTE: the Remote Control client
does not support all types of keyboards).
0-9 keys - same on keyboard as keypad
<PREV and NEXT> - use right and left arrow buttons on keyboard
OK - Enter on keyboard
BACK - Backspace or Minus (-) key on keyboard
PROG - Plus (+) on keyboard
MAN - Asterisk (*) on keyboard
Appendix
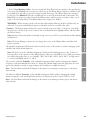
5.Now the AllSync Master should respond and you should be able to see the main screen of the unit, as it is
displayed on the LCD screen. (Note: The AllSync Master will not connect remotely if not at the main menu
screen of the unit. The IP address entered in the pull down unit may not have a leading 0 as it is listed in
the AllSync unit. For example: The AllSync IP is listed in the communication menu as 192.168.010.230;
however, the pull down box must read 192.168.10.230 and not 192.168.010.230.)
Operate the AllSync Master in the same way you would if you were at the unit. Refer to the Installation
Manual for the AllSync Master for instructions.
7.When done operating the AllSync Master remotely, click on the “Disconnect” button and close the
Remote Control client program. Closing the program can be done by clicking on the X in the upper right
corner or clicking File, Exit using the pulldown menus.
© American Time
21