1
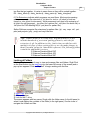
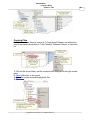
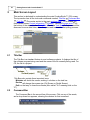
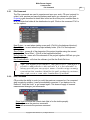
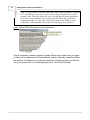
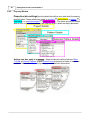
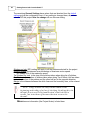
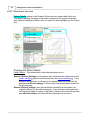
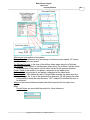
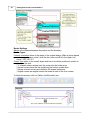
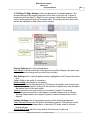
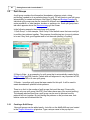
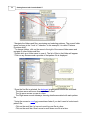
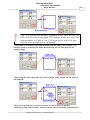
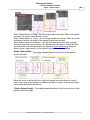
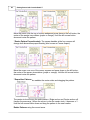
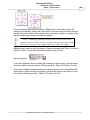
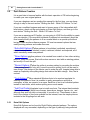
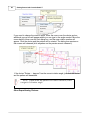
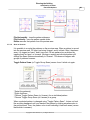
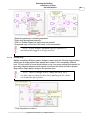
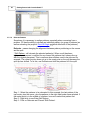
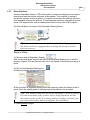
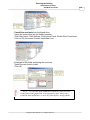
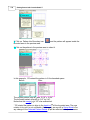
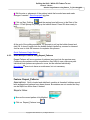
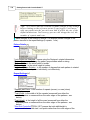
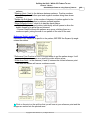
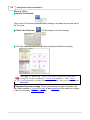
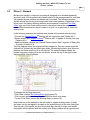
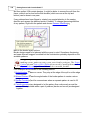
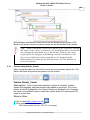
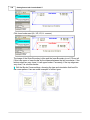
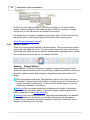
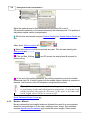
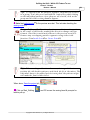
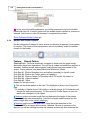
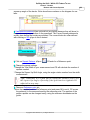
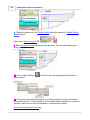
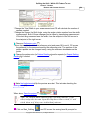
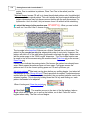
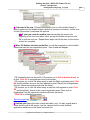
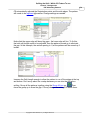
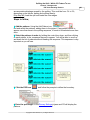
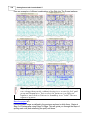
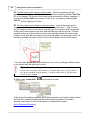
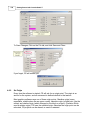
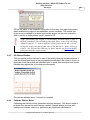
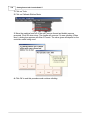
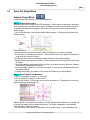
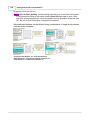
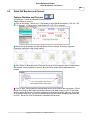
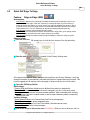
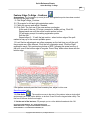
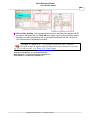
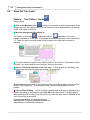
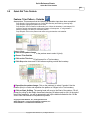
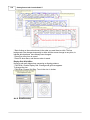
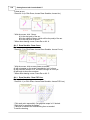
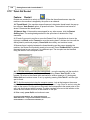
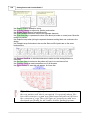
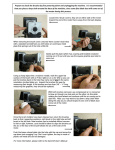
128
Getting Started with CreativeStudio™
Steps to follow:
1. Choose P2P-Line -
This is one of the choices presented when clicking on the black arrow to the right of
the P2P icon.
2. Click on the P2P icon A dialog box appears with options.
Settings:
Angle: This is the current angle that will be used when the Channel Lock is turned
on.
Flip Angle: If array mode is not checked, this angle replaces the current angle. To flip
the angle, press and hold the shift button on the keypad, and press the Chan
Lock button. To flip it back again, repeat the 2-button sequence.
Array Mode - When checked, CS uses a 2-button sequence to increase the current
angle by the number of degrees shown in the Flip Angle. To increase the current
angle, press and hold the shift button on the keypad, and press the Chan Lock
button. Repeat this to increase it again.
Buttons:
Chan Lock - locks the head so it stitches along one fixed angle.
Shift: Press this and hold it down, and then press Chan Lock to Flip (or increase in
array mode) the current lock angle.
OK (either button) selects the point, based on the position of the needle.
Stop indicates the end of the P2P-line segment. If more points are clicked, they will
be detached from the first segment by a 'jump stitch'. This is like turning the
needle off, moving to the next P2P point, to resume stitching.
3. Press OK to define the path. Move the machine head from one point to the next,
clicking OK on each one. The machine makes a popping sound every time the OK
button is pressed. This sound confirms that the point has been registered. The lines
connecting the points also appears in the preview area of the screen after each
click.
4. Press 'Shift' and 'Exit' to complete the line segments. It is always a good idea
to check the images in the preview area before stitching.