1
Operator Manual
SeaHub
4.3.2. Configuring Seanet with SeaHub COM Ports
On new systems, or if Seanet software has been re-installed, it will be necessary to instruct Seanet which
COM ports it should accept Sonar/Device data from. The SeaHub connection will have installed six COM
ports, and the previous section has described how to identify these. The following section describes how
to allocate these ports to Seanet…
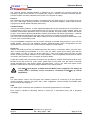
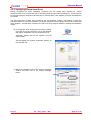
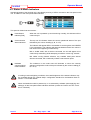
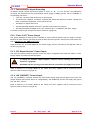
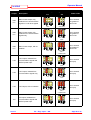
6) After first installing the Seanet Pro software and
connecting the SeaHub, run the installed “Seanet
Setup” software on the PC from the desktop icon that
was created (shown right).
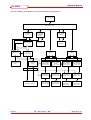
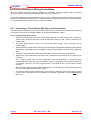
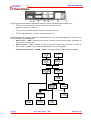
Without any devices connected to the PC, or if the
COM port settings are not configured, the application
should look like the figure to the right…
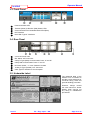
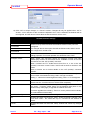
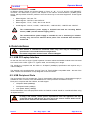
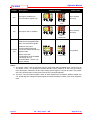
7) To configure the “COM” ports, select “COM Setup”
from the Utilities menu. This will display the following
dialogue box…
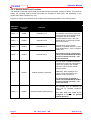
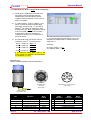
The ‘Type’ column will help to identify the SeaHub
ports from other COM Port types. These are;
‘SeaHubMain’: The Main connection to PC USB.
‘SeaHubA’..’SeaHubD’: SeaHub Ports A to D.
‘SeaHubAux’: The Auxiliary Port.
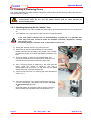
8) All of the entries in this list represent COM ports, but
Seanet needs to know what sort of device will be
connected.
An “Aif” (Acoustic Interface) type port represents one
that Tritech “SeaNet Compatible” devices will be
connected to: these include SeaKing, SeaPrince,
MiniKing and Micron.
9) Refer back to the COM port numbers that were obtained in section 4.2, representing those added
by the SeaHub. Add an “Aif” device, from the “New” menu, for the COM port BASE+4 (fifth port
installed), to allow SeaHub functions to be accessed*.
* When a SeaHub is connected this is now automatic: The Channel Setup will scan the PC USB ports
for a connected SeaHub. If a SeaHub is found and not yet enabled, the user will be prompted whether
to automatically add and configure an “Aif” at this point.
If necessary, add extra “Aif” ports for serial “Seanet Compatible” nodes (e.g. Sonars) connected to
Ports A-D. For serial GPS modules, Compass’s, Altimeters etc, add the appropriate device type to
the list (selecting from the “New” menu) if not already there.
10) For each device port in the table, use the left and right arrow buttons to select the port number,
and then tick the “Enabled” check-box. The status of each port should be reported as “OK”.
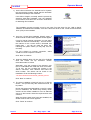
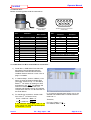
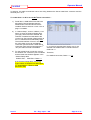
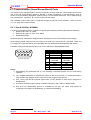
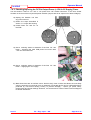
11) The setting for each port can be configured by
clicking the “…” button under the “Settings” column.
For example then “Aif” device setting should
resemble the following…
Issue 1
TIL – Eng – Spec – 080
Page 21 of 70