1
56
Chapter 5
Step by Step Example
Edit and label MSG nodes
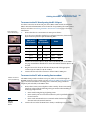
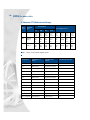
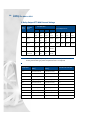
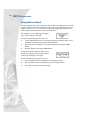
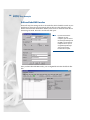
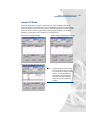
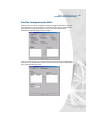
Next we’ll ‘map’ the message nodes to the audio files which should be stored on your
hard drive or network. To do this simply click on the box to the right of the “File
Name” field in the MSG Node Editor window, then browse to where the audio file for
the message is stored. Select the .wav file and click ‘open.’
Note:
If you do not have the
audio files on your
computer, you can record
the messages directly onto
the XMU+ via the remote
telephone access port or
using Message Manager.
You can also use the
handset & front panel.
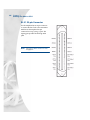
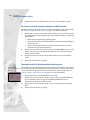
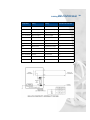
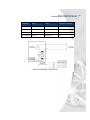
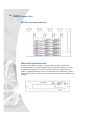
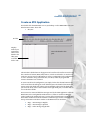
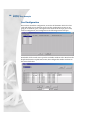
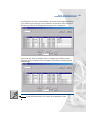
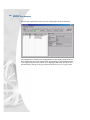
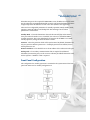
Once you have edited the MSG nodes, your Config Builder window should look like
this.