1
Installing Acrobat lcd
Using Acrobat lcd
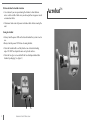
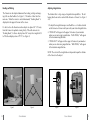
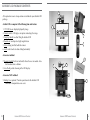
1. Unpacking and transporting the
Acrobat LCD
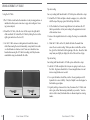
During unpacking and transporting, be
sure to lift the Acrobat LCD by the built-in
carry-ing handle. Do not attempt to lift or
carry the LCD by the base. (See Figure 1)
2. Setup the Acrobat LCD
Place the Acrobat LCD on a flat, level surface such as a table or desk.
Please refer to page 10-23 for instructions on how to use the camera
before proceeding to the next section.
Figure 1
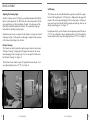
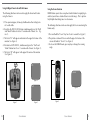
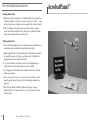
Adjust the camera position
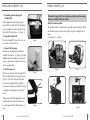
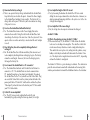
The Acrobat camera is attached to a specially designed arm that allows
the Acrobat camera to slide left or right, or to pivot in multiple directions.
(See Figure 1, 2, 3 and 4)
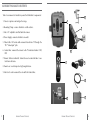
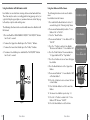
3. Connect the AC power
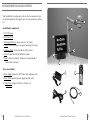
Connect the attached power cord to an
available wall outlet. (See Figure 2) To offer
additional protection during an electrical
storm, a surge protector may also be used
and is recommended.
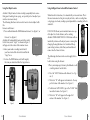
4. Turn the power on
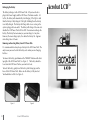
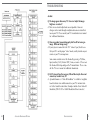
On the rear, right side of the Acrobat LCD,
flip the switch from the 0 to l position (See
Figure 3). The LCD screen and Acrobat
Camera will automatically turn ON in a
few seconds. An image of what the Camera
is pointing at should appear on the LCD
screen.
Turn the power OFF by flipping the same
switch back to the 0 position. However,
leave the power ON for this training section.
37
Installing Acrobat LCD
Figure 1
Figure 2
Figure 2
90°
Figure 4
Figure 3
Figure 4
Using Acrobat LCD
38