1
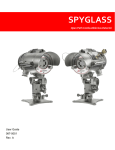
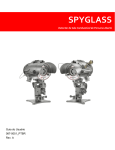
LENS BOOT
The LENS Boot, P/N 31001914-XX, (-XX extension number indicates color of boot)
stretches to fit around the lens side of the main housing.
1. To remove the LENS Boot, gently lift
one edge of the boot until the boot is
released from the lens flange.
2. To reinstall, orient the LENS Boot
with the word “TOP” toward the top
of the camera housing and the two
flats above and below the lens. See
FIGURE 20.
“TOP” ON INSIDE
OF BOOT
FLATS ON
TOP AND
BOTTOM
FIGURE 20
DISPLAY BOOT / GLARE SHIELD
The DISPLAY Boot, P/N 31001915-XX, (-XX extension number indicates color of
boot and/or Glare Shield version) stretches to fit around the display side of the
main housing.
1. To remove the DISPLAY Boot, gently
FOUR TABS
(ONE ON EACH SIDE)
lift one edge of the boot until the boot
is released from the housing body.
Notice that there are four tabs around
the perimeter of the housing which
must line up with the four indentations
on the inside of the DISPLAY Boot.
2. To reinstall the DISPLAY Boot, orient
the DISPLAY Boot so that the notch
for the Power Switch aligns with the
Power Switch. See FIGURE 21.
3. Stretch the back edge of the DISPLAY
Boot around the display until it seats
with the display opening in the boot
firmly against the display screen. See
FIGURE 22.
FIGURE 21
SEATED AGAINST
DISPLAY SCREEN
POWER
SWITCH
FIGURE 22
Page 29 of 32
P/N 595224-01 Rev E 7/12