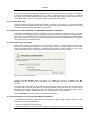
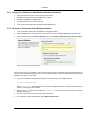
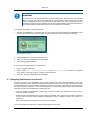
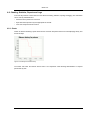
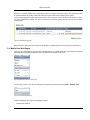
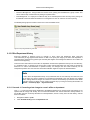
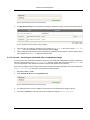
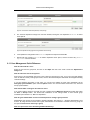
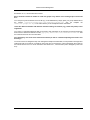
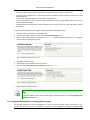
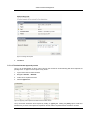
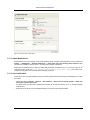
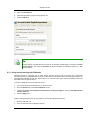
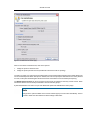
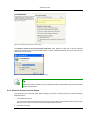
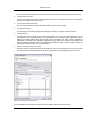
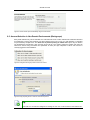
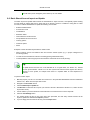
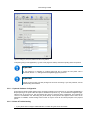
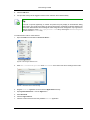
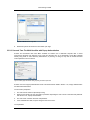
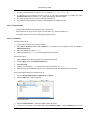
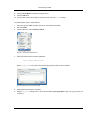
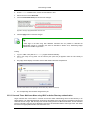
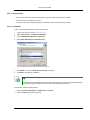
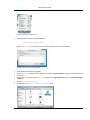
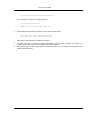
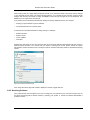
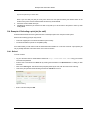
1
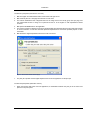
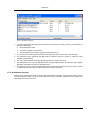
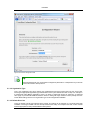
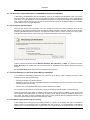
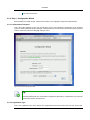
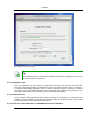
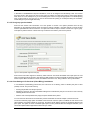
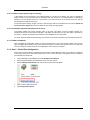
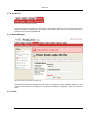
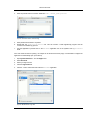
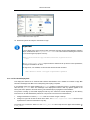
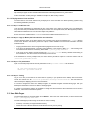
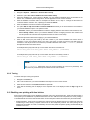
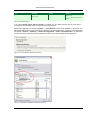
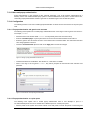
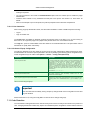
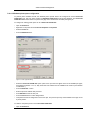
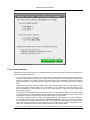
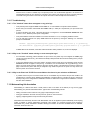
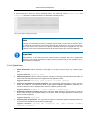
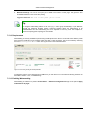
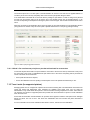
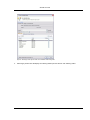
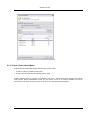
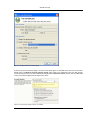
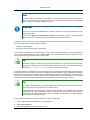
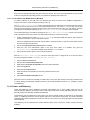
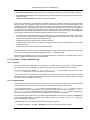
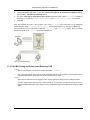
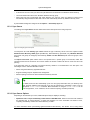
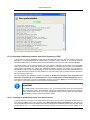
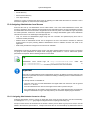
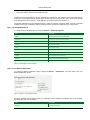
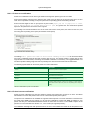
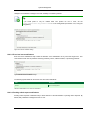
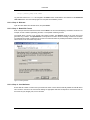
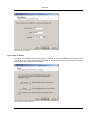
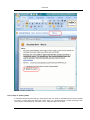
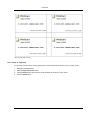
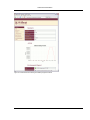
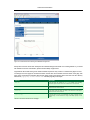
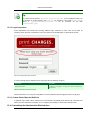
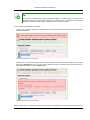
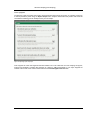
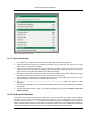
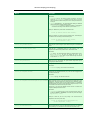
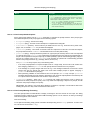
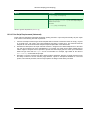
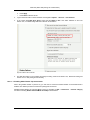
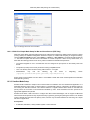
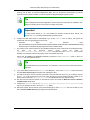
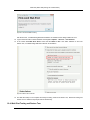
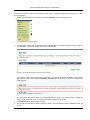
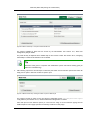
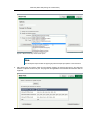
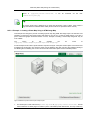
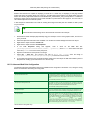
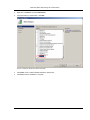
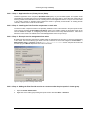
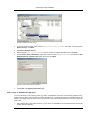
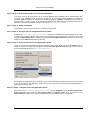
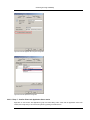
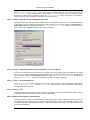
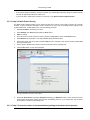
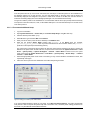
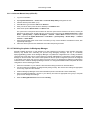
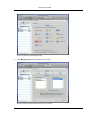
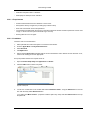
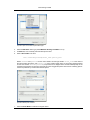
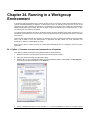
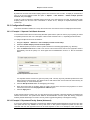
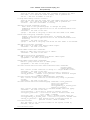
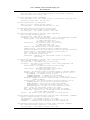
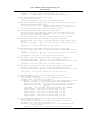
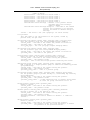
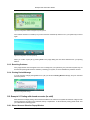
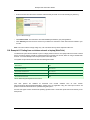
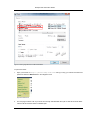
Clustering and High Availability
20.3.2.2. Step 2 - Convert the system over to an external database
The system needs to be configured to use an external database as this database will be shared between both
instances of the application server. Convert the system over to the required external database by following the
procedure detailed in Chapter 18, Deployment on an External Database (RDBMS). The database may be hosted on
another system, or inside a cluster. As per the external database setup notes, reference the database server by IP
address by entering the appropriate connection string in the server.properties file.
20.3.2.3. Step 3 - Setup of 2nd Node
Repeat steps 1 and 2 on the second and any subsequent cluster nodes.
20.3.2.4. Step 4 - Decouple service management from the nodes
By default the Print-Limit Application Server component is installed under the management of the node.
It needs to be managed inside the cluster, so the service's start-up type should be set to manual. On each node
navigate to Administrative Tools → Services locate the Print-Limit Application Server. Stop the service and set
its start-up type to Manual. Repeat this on all nodes.
20.3.2.5. Step 5 - Create a new Services and Applications group
Create a new Services and Applications group containing the two nodes. Make note of the IP Address that you
assign as it will be used later. Add the Generic Service Print-Limit Application Server. Give the Client Access
Point an appropriate title such as Print-LimitAppCluster.
Figure 20.7. Adding a new Generic Service Resource
This Services and Applications group is separate to the existing clustered printing environment. It is recommended
to set up two Services and Application groups where you can later set the node affinity to better distribute the
application load across nodes.
20.3.2.6. Step 6 - Configure Print-Limit Application Server
Right click on the Print-Limit Application Server and click Properties. On the Print-Limit Application
Server Properties page ensure the Use Network Name for computer name option is checked. On the
Dependencies tab make sure the Service and Application group is added as a Resource. Click Ok.
304