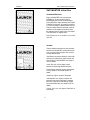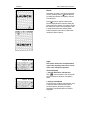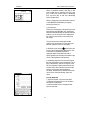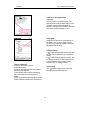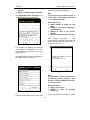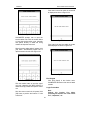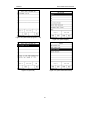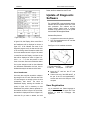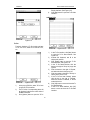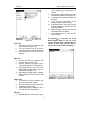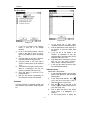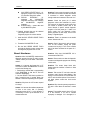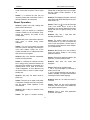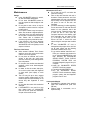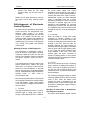
1
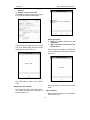
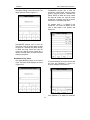
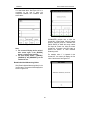
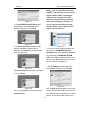
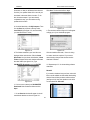
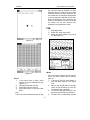
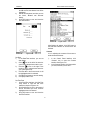
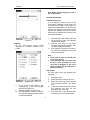
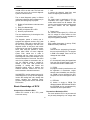
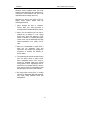
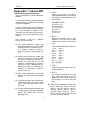
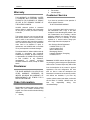
LAUNCH
X431 Master User’s Manual
The Set of display
Figure 4-28
Figure 4-27
1)
2)
3)
4)
5)
6)
7)
1)
In the pop-up list of ‘PIM’, select
‘Schedule’ to open the Schedule interface.
2) Click the Date button on the upper left of
the interface to open the Select Date
interface.
3) In the list box in the middle of the
interface, all schedules on that day
corresponding to the Date button will be
displayed. (See Figure 4-28)
4) Click [New] button, and then the cycle list
pops up. You may select ‘Common’,
‘Daily’, ‘Weekly’, ‘Monthly’ and ‘Annual’.
5) In the cycle list, select one item to open
the Schedule New interface.
In the To Do interface, click [Options]
button to open the To Do Display
interface.
In the To Do Display interface, click the
button to the right of ‘Group’ to pop-up
type list, and select the type in the pop-up
list.
Click the button to the right of ‘Expired’,
and select the data in the pop-up list.
Click the number or ‘All’ to the right of
‘Priority’ to set the priority of the displayed
To Do.
Click the box to the right of each function.
When ‘X’ is displayed in the box, the
function is selected. (See Figure 4-27)
Click [OK] button to close the To Do
Display interface.
Then you can see the corresponding To
Do in the list box of the To Do interface.
Add New Schedule
Set the date of the schedule:
1) In the Schedule interface, click the Date
button on the upper left to open the Select
Date interface.
2) In the Select Date interface, click [ ]
icon to the left of the month or year to
select the previous month or year.
3) Click the [ ] icon to the right of the
month or year to select the next month or
year. (See Figure 4-29)
4) Click to select the date in the current
month. When it is highlighted, it is
selected.
5) Or click [Today] button to display the
Schedule
The basic functions of Schedule include: add
new schedule, view schedule, delete schedule,
etc.
52