1
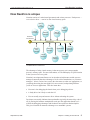
Storage choices
© 2008, QNX Software Systems GmbH & Co. KG.
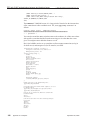
This command creates an ISO image named my_iso_image.iso with the label, My
Label, using the Joliet file format, allowing full 31-character filenames (-l),
following all symbolic links when generating the filesystem (-f), and generating
SUSP and RR records using the Rock Ridge protocol (-r).
Once you’ve created the ISO image, you can send the image to a system that can burn
an ISO image or you can burn it using cdrecord:
cdrecord -v speed=2 dev=/dev/cd0 my_iso_image.iso
This command burns a CD at dual speed (2), using the CD burner called cd0, from the
ISO image called my_iso_image.iso. For more information, see the documentation
for cdrecord.
For a list of supported CD drives, see the README file that comes with the cdrecord
source code.
Bootable CDs
You can also make the CD bootable, using cdrecord and its associated utilities, as
follows:
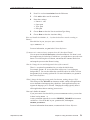
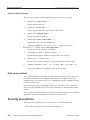
1
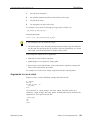
Create a bootable floppy that calls the needed scripts and includes the needed
binaries in the image.
2
Make an image of the floppy, using the dd utility. For example:
dd if=/dev/fd0 of=/floppy.img
3
Create a directory with all the needed binaries, in the layout that you want in
your CD-ROM ISO image. For example:
mkdir iso_image
cp -Rc /bin iso_image/bin
cp -Rc /etc iso_image/etc
....
4
Make sure that the isocatalog is in /usr/share/cdburning on the system.
5
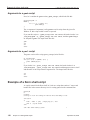
Create the ISO image using mkisofs, making sure to specify the catalog with
the -c option. For example:
mkisofs -l -f -r -joliet -quiet -V"My Label" -b floppy.img \
-c /usr/share/cdburning/isocatalog -o my_iso_image.iso
6
September 30, 2008
Burn the ISO image to a CD.
Chapter 18 • Backing Up and Recovering Data
297