1
iPECS-Attendant for LIK
User Guide
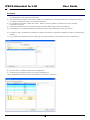
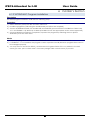
Notice
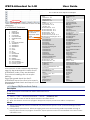
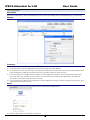
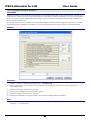
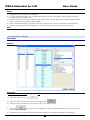
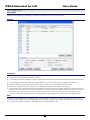
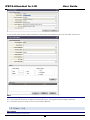
1) "Window Position" varies with operators.
2) In case of using devices such as USB speaker & microphone (headset), these devices must be
installed prior to program start.
3) Bear in mind that if "Include system mode and link test" in Message Trace, program speed will be
down and the size of log file will be bigger.
4) After "Database Setting", connection test by using the "Test" button is strongly recommended.
5) When modifying custom setting fields, It’s recommended the IP Attendant be restarted.
Note
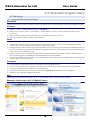
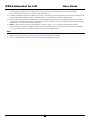
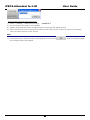
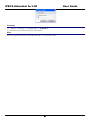
Some settings such as language selection and PBX information are applied, once the program is restarted.
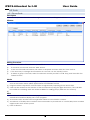
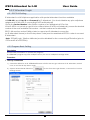
4.3.2 Flex Button Setting
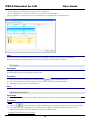
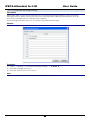
Description
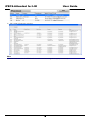
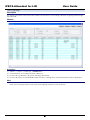
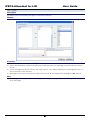
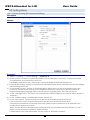
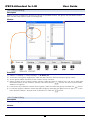
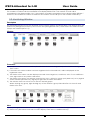
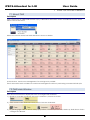
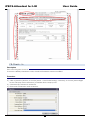
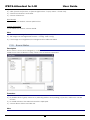
The IP Attendant may edit the functions of its own Flex buttons as well as those of other Stations.
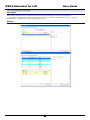
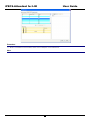
Window
Procedure
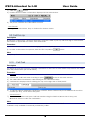
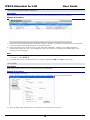
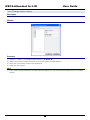
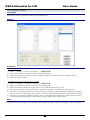
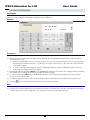
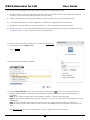
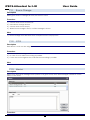
IP-ATD Flex Key Registration by using the Dial Pad
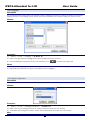
1) Click the "PGM" button.
2) Click the "Flex" button that needs to be registered.
3) Dial the station number that needs to be set at the "Flex" button.
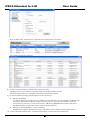
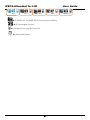
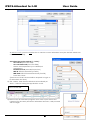
4) Click the
button, The new assignment for the IP ATTENDANT flex button is saved and
automatically labelled
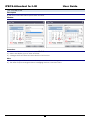
5) The label may be edited by right clicking the flex key and editing the label name directly.
32