1
HMi Operator Interface
January 2007
Polygon
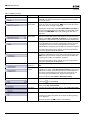
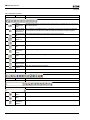
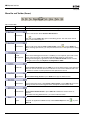
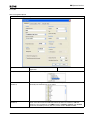
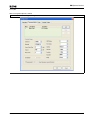
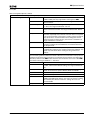
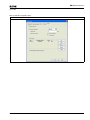
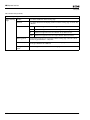
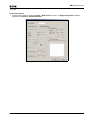
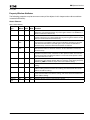
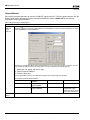
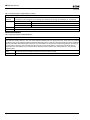
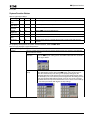
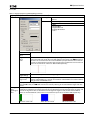
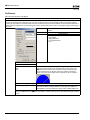
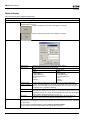
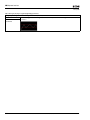
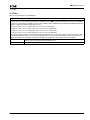
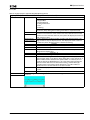
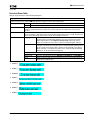
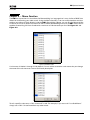
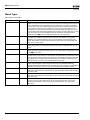
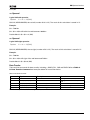
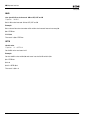
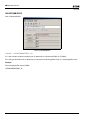
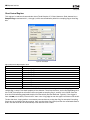
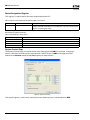
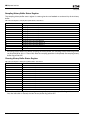
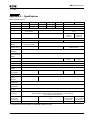
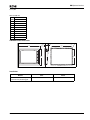
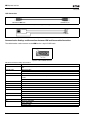
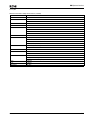
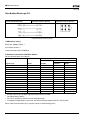
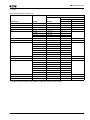
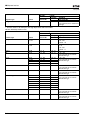
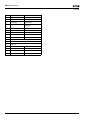
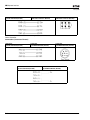
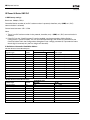
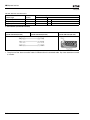
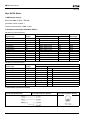
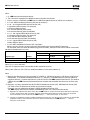
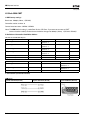
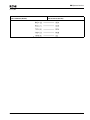
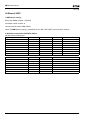
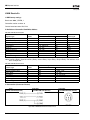
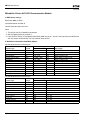
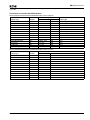
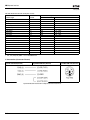
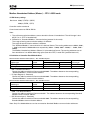
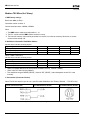
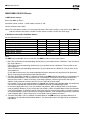
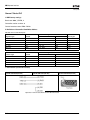
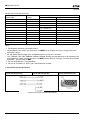
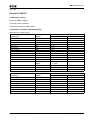
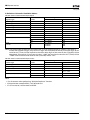
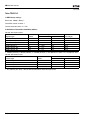
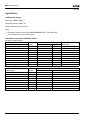
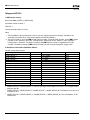
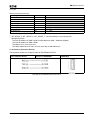
Table 3-55: Property Description of Polygon Graphic Element
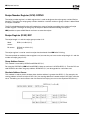
Property Description of Polygon Graphic Element
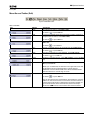
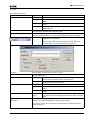
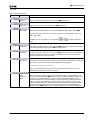
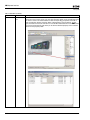
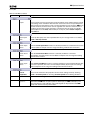
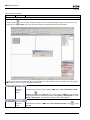
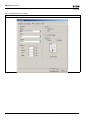
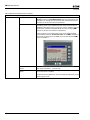
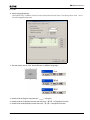
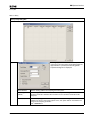
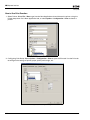
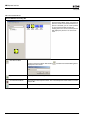
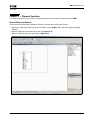
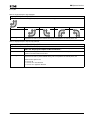
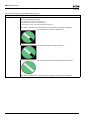
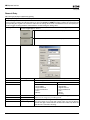
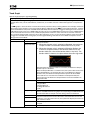
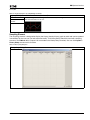
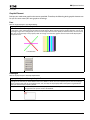
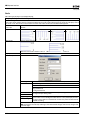
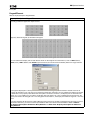
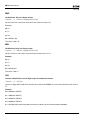
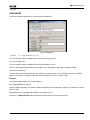
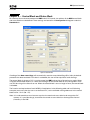
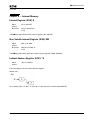
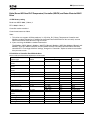
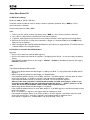
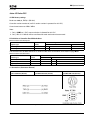
Click to determine each node of the polygon graphic element. You can click where you want to place the first node
and drag it across the work place on the screen until the next node is decided. Click the mouse again to determine
the position of the next node. Repeat the above process until the polygon is the size that you want. Then, rightclick the mouse button to finish. When selecting this polygon graphic element, you will see a rectangle range,
which is designed for you to move and adjust the polygon more quickly and conveniently. Changing the size of the
rectangle range will change the size of circle graphic element. The range out of the circle graphic element itself
will be displayed in transparent color. The Transparent option is in the element property table. Once Yes is
selected, the element will display with the border and no color in the element. If any other element is under the
circle graphic element, it will be visible on the screen.
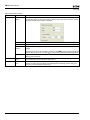
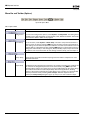
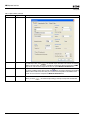
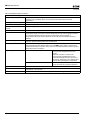
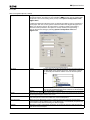
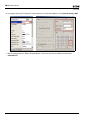
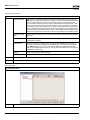
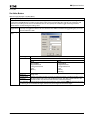
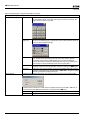
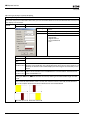
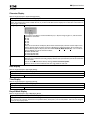
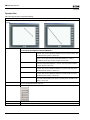
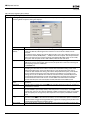
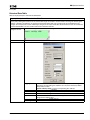
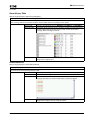
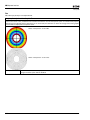
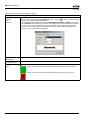
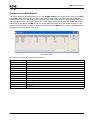
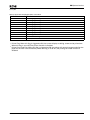
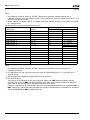
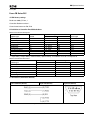
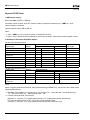
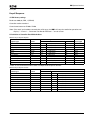
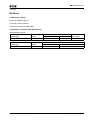
Line Color
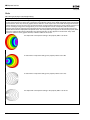
Used to set the line color of the polygon graphic element.
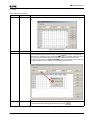
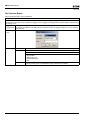
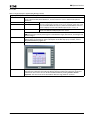
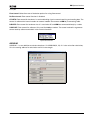
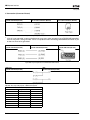
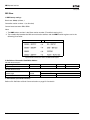
Foreground
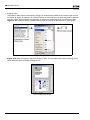
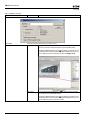
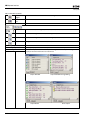
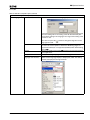
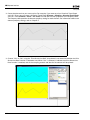
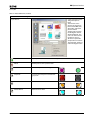
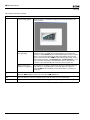
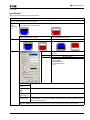
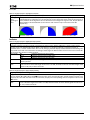
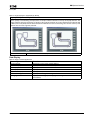
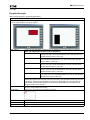
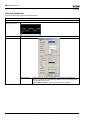
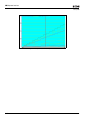
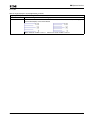
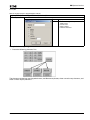
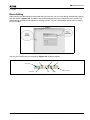
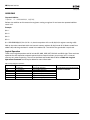
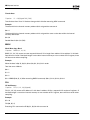
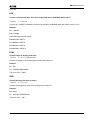
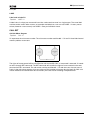
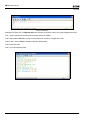
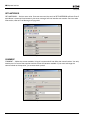
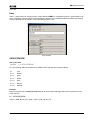
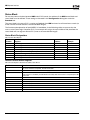
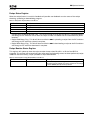
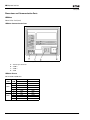
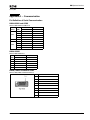
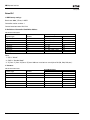
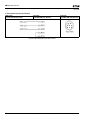
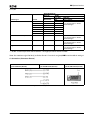
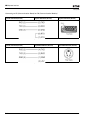
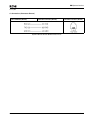
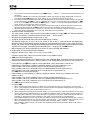
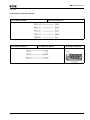
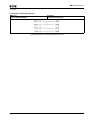
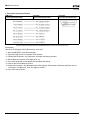
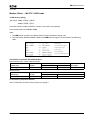
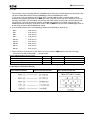
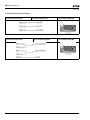
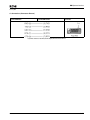
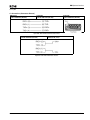
Used to set the display color of the polygon graphic element. Refer to the figures below:
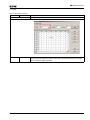
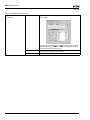
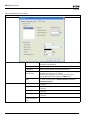
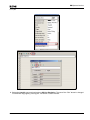
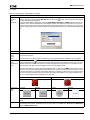
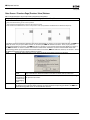
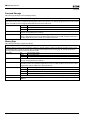
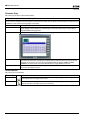
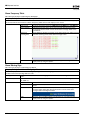
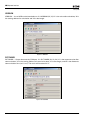
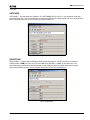
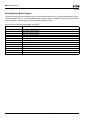
Transparent
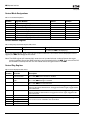
The foreground color is set to blue. The foreground color is set to turquoise.
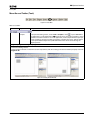
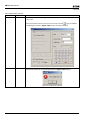
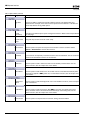
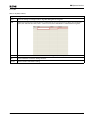
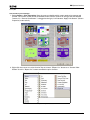
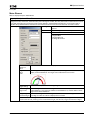
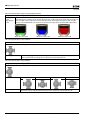
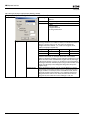
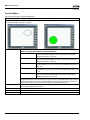
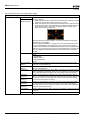
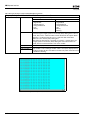
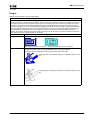
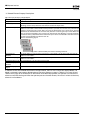
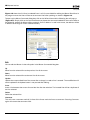
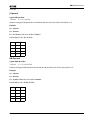
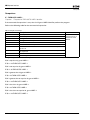
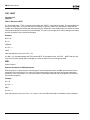
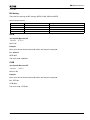
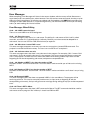
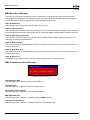
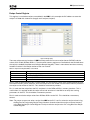
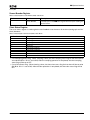
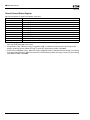
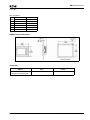
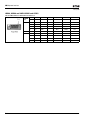
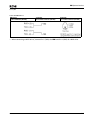
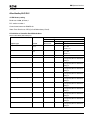
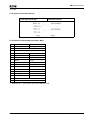
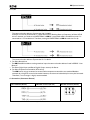
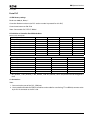
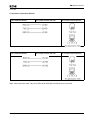
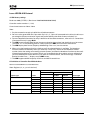
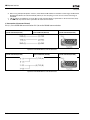
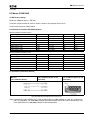
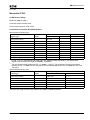
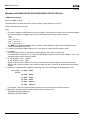
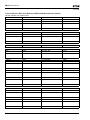
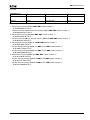
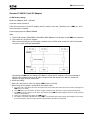
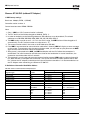
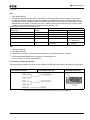
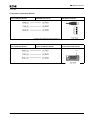
When selected, the element displays with the border and no color in the element. The
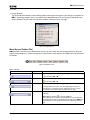
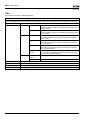
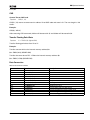
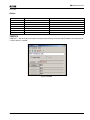
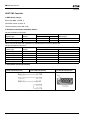
Foreground Color option will also be disabled. Refer to the figures below:
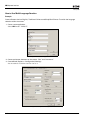
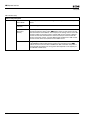
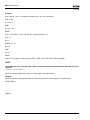
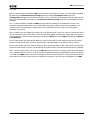
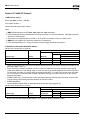
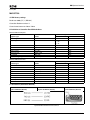
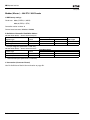
A polygon with a Transparent setting in the property table is set to No.
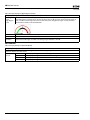
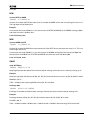
A polygon with a Transparent setting in the property table is set to
No
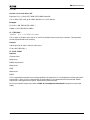
A polygon with a Transparent setting in the property table is set to
Yes
MN04802014E
For more information visit: www.EatonElectrical.com
3-55