1
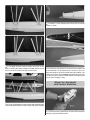
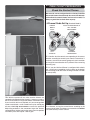
❏ 1. Mark the forward and aft C.G. limits on both sides of ❏ 3. Install the battery, battery hatch and cabin hatch. At
the bottom of the wing 2" and 2-1/2" [51mm and 64mm] back
from the leading edge where shown—using narrow strips of
tape will allow you to feel the marks when lifting the model
with your fingertips to balance.
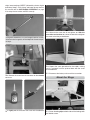
this point the Beaver must be in ready-to-fly condition with
everything attached and installed including the floats or wheels
and battery and propeller.
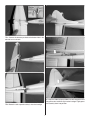
❏ 4. Lift the model by your fingers between the lines indicating
the balance range. As long as the Beaver sits level with your
fingers on the forward or aft lines or anywhere between the
lines it is properly balanced and ready to fly. If you have to
move your fingertips outside the lines the Beaver is out of
balance and should not be flown. If necessary, add squares
of stick-on lead to the nose or tail to get the Beaver to balance
within the specified range.
MOTOR SAFETY PRECAUTIONS
Failure to follow these safety precautions may result in
severe injury to yourself and others.
● Seek the assistance of an experienced pilot if new to
electric motors.
● Wear safety glasses whenever in the proximity of a
spinning propeller.
● Do not operate the motor in an area of loose gravel or
sand; the propeller may throw such material in your face
or eyes.
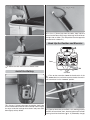
❏ 2. Mount the propeller and spinner.
● Keep spectators as well as your own face and body out
of the plane of rotation of the propeller.
14