1
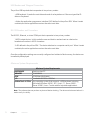
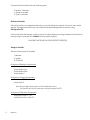
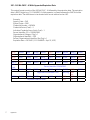
Function
Advanced
GetID
Start Bit
Bits
Digits
Up
Down
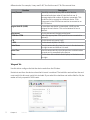
Description
Click to display the binary bit pattern.
Click to display the binary bit pattern captured from the card.
Enter a number to define the left most significant starting bit for the field.
Enter the number of bits to add to the Start Bit to define the range of bits
in the field.
This is the number of digits that will display in a selected field.
Click to move the highlighted field up one position.
Click to move the highlighted field down one position.
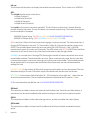
Note: The message that displays the number of bytes used and how much room for keystrokes above
the Advanced button is determined by the device’s flash memory. In this example the configuration is:
“Keystrokes: 8 of 32 bytes used. Room for 14 keystrokes.” Every field is 15 keystrokes maximum. All fields
share 96 bytes.
The Bit Range that displays to the left of the binary bit pattern is the Start Bit field total + the Bits field
total – 1.
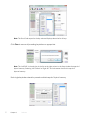
Get ID
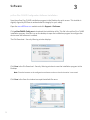
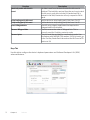
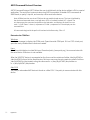
Click GetID and scan the card to display the output format of the FIPS 201, iCLASS, MIFARE and
proximity card and the interpretation display of the card data. Click GetID to define the fields to set
up the device.
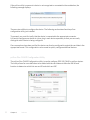
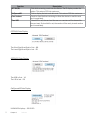
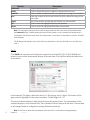
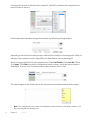
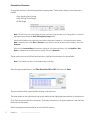
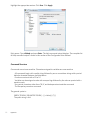
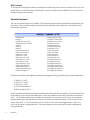
In this example, The Agency data starts at bit 11, is 16 bits long, and is 5 digits. The location of the
agency data is highlighted in the binary bit pattern. The Bit Range is 6 .. 25.
The actual card data displays in blue below the binary bit pattern layout. The interpretation of the
card data displays in red in the text field. The card data in blue will always be the same. The card data
in red changes based on configuration settings flashed to the device.
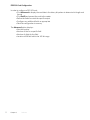
Note: Click Clear to delete the red card data in the text field. A confirmation message displays.
29
Chapter 3
Software