1
PC Client User Manual
Steps:
1.
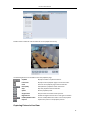
Move the mouse pointer to the display window in live view to show the toolbar.
2.
Click the icon
in the toolbar of the display window or on the right-click Live View
Management Menu.
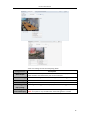
A small window of the captured picture will be displayed to notify whether the capturing
operation is done or not.
Note: The saving path of the captured pictures can be set on the System Configuration interface. For
details, see Section 7.2.2 File Saving Path Settings.
Viewing Captured Pictures
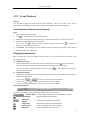
The pictures captured in live view are stored in the PC running the software. You can view the
captured pictures if needed.
Steps:
1.
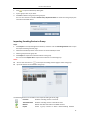
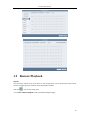
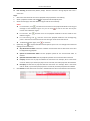
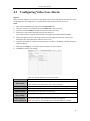
Click File->Open Captured Picture to open the Captured Picture page.
2.
Select the camera to be searched from the Camera Group list.
3.
4.
Click the icon
to specify the start time and end time for the search.
Click Search. The pictures captured between the start time and end time will be displayed.
5.
Double-click the captured picture to enlarge it for a better view.
Select the captured picture, and click Print. You can print the selected picture.
Select the captured picture, and click Delete. You can delete the selected picture.
Select the captured picture, and click Email Linkage. You can send an Email notification with the
selected picture attached.
Select the captured picture, and click Save as. You can save a new copy of the selected picture.
2.4.5 Instant Playback
Purpose:
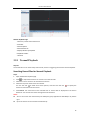
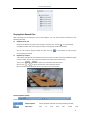
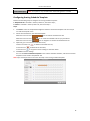
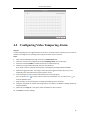
The record files can be played back instantly on the Main View page. Instant playback shows a passage
of the video which was remarkable, or which was unclear on the first sight. Thus, you can get an
immediate review if needed.
23