1
Section 6
Factory Options
Change Recorder
Temperature Range
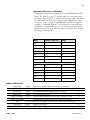
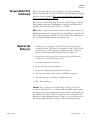
The chart recorder contains eight temperature ranges and is factoryprogrammed for the freezer.
1. Press and hold button #3 for one second, then let the pen move off the
chart paper.
2. Press and hold for five seconds either button #1 or button #2.
3. Release the button and the green LED
will begin to flash. Count the number of
flashes to determine the present program
setting.
4. To change the program setting, press the
left or right arrows to increase or decrease
the count.
Program
1
2
3
4
5
6
7
8
From
-40
0
-100
-5
0
-100
-115
-10
To
30°C
60°C
38°C
50°C
100°C
200°C
50°C
70°C
5. When the desired program number is
flashing, press button #3 to bring the pen arm back onto the chart.
Recording will begin in the new program.
Calibrate the Chart
Recorder
The recorder must be in service for 24 hours before performing the
following calibration procedure.
1. Place an accurate thermometer in the chamber next to the recorder
probe.
2. Temperature probes for the recorder are located in the left front corner
of the freezer chamber (Figure 1-4).
3. After about three minutes, compare the thermometer reading with the
chart recorder reading.
4. If an adjustment is necessary, press the #1 button to move the pen to
the left or the #2 to move the pen to the right. The button must be
held about five seconds before the pen begins to move. Release the
button when the pen position matches the thermometer.
Note The felt-tip pen on the recorder requires periodic replacement.
Usually the ink will appear to fade before replacement becomes necessary.
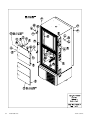
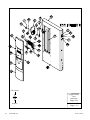
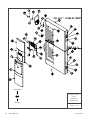
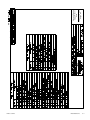
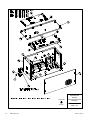
Additional pen tips may be purchased. Refer to exploded parts drawings. s
6-8
Model 8600 Series
Thermo Scientific












































![TSD Series - User Manual [ES]](http://vs1.manualzilla.com/store/data/006244484_1-60182706bc4d83987c147205af2199d9-150x150.png)



![TSD Series -40C ULT User Manual [EN]](http://vs1.manualzilla.com/store/data/005634658_1-66c9db561a67486106446026c707a26c-150x150.png)