1
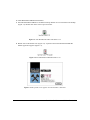
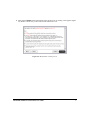
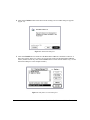
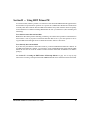
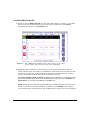
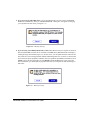
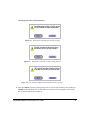
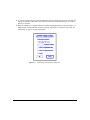
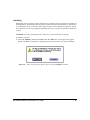
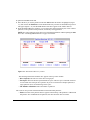
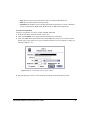
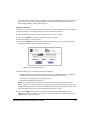
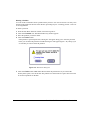
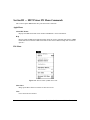
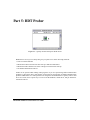
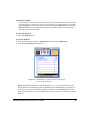
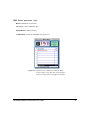
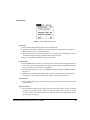
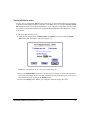
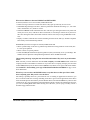
Using HDT Prober
1. Select the Control Panel desk accessory from under the Apple menu in the top left corner of your
screen. Scroll down the list of cdevs to Þnd the HDT Prober icon and click on its icon. Prober will
open and automatically scan the SCSI bus. It then displays the IDs of the drives connected to your
Macintosh, including any drives that did not mount correctly or are unmounted. Prober will list the
drive by the name of its Þrst partition.
Figure 5.2: HDT ProberÕs main window
2. When you open Prober by opening the control panel and selecting its icon, it will automatically
scan the bus and display the addresses and names of all active drives. Drives that are mounted will
have a dot next to their ID bar. To see which drives have drivers loaded, press the option key. The
mounted dots will now indicate where there is a driver installed.
3. To mount a drive, select it and click on Mount. Prober will mount all partitions on the drive that are
deÞned as automounting. (See page 131 for explanation of Automount.)
4. To get information on a drive, select that drive and click on the Info button. To get more information
on the partitions of that drive, hold down the Option key. The Info button will change to More Info.
Click on More Info to get detailed information.
42
Hard Disk ToolKit¥Personal Edition User Guide