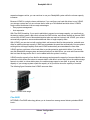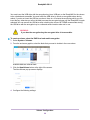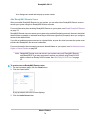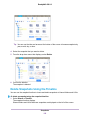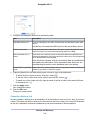
1
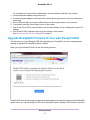
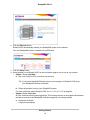
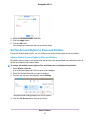
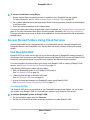
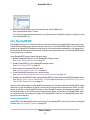
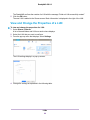
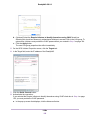
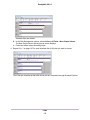
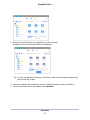
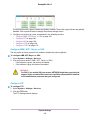
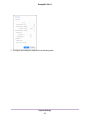
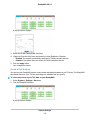
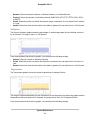
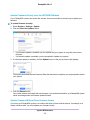
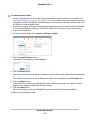
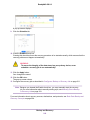
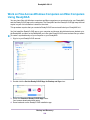
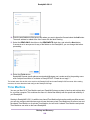
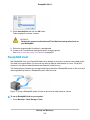
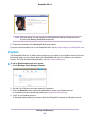
ReadyNAS OS 6.2
For a complete list of placement considerations, see the hardware manual for your system.
3. Connect the power adapter to the power cord.
4. Connect the power adapter to the back of the system and plug the power cord into a wall outlet or
power strip.
5. Use an Ethernet cable to connect an Ethernet port on the storage system to your network.
6. If necessary, press the Power button to turn on the system.
7. Wait for the Power LED to turn solid blue or for the status display screen to display the system’s IP
address.
8. Use ReadyCLOUD to discover and set up your system on the network.
See Discover and Set Up Your ReadyNAS on page 13.
Upgrade ReadyNAS Firmware for Use with ReadyCLOUD
The first time you log into ReadyCLOUD after upgrading your ReadyNAS, you see a message about
needing to upgrade the ReadyNAS system firmware.
When you log into ReadyCLOUD you see the following window:
ReadyCLOUD now includes major new features, but these features require new firmware on the ReadyNAS
system. When you log into ReadyCLOUD from a ReadyNAS system, ReadyCLOUD checks to see if the
Getting Started
11