1
workbook is ImageCollection, Locality, SpecimenTaxonData,
Specimen, MyView, Images, ExternalLinks and the Supporting
Data page as needed.
•
Entering image collection data-Select the ImageCollection tab
first to enter general information about the collection of images.
•
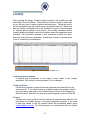
Entering locality data-After entering the ImageCollection data, proceed
to the Locality tab and fill in all the applicable fields. These fields are
linked to fields in other tabs so you will only have to enter unique Locality
data once. Make sure data for Locality coordinates are in the decimal form
given in the examples in the Locality section of this manual. Note: Make
sure there are no duplicated data in the cells that make up the Locality
sheet. If this occurs, the search functionality of each of the fields is
compromised. There are many online resources for translating degrees to
decimal. One example is http://www.jeeep.com/details/coord/
•
Entering specimen taxon data- After entering the Locality data, enter all
the taxon names associated with the specimens and images to be
uploaded. If names at rank higher than genus need adding to morphbank,
there are options other than the spreadsheet. Names at rank of Suborder
or lower can be added via the web interface. In the event names of rank
higher than suborder need adding, contact [email protected]
•
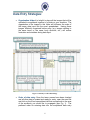
Entering specimen data-After entering the Specimen Taxon Data,
proceed to the Specimen tab. Fill in the fields found here. As in Locality,
fields are linked to other tabs. Drop-down menus are provided for many of
the fields. If an option you would like to input is not provided in the
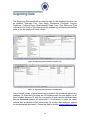
drop-down menu, proceed to Supporting Data tab and modify the
contents of the category as necessary.
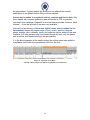
Notice that Locality is a field here; this field links to the data entered in
the Locality worksheet. Choose the locality that suits the particular
specimen you are working with (this is the reason why you filled in the
locality data first). If you have a lot of different taxa (which you likely
will have), this tab is eventually going to have a great deal of data
associated with it!
•
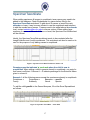
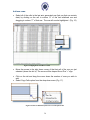
Entering view data- Next visit the MyView tab. This worksheet is split
into two parts. In the first part users can choose a view from a drop-down
list made from existing views in morphbank. Check to see that the views
needed are listed. If the views currently in the spreadsheet are not
suitable for current needs, they can be added using the second part
(bottom half) of this worksheet.
•
Entering image data-Next proceed to the Images worksheet. This is the
heart of the whole process, and quite possibly may be the place you
7