1
2 To get started
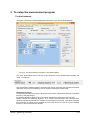
Give the required roundness parameters
In the measurement program you must declare the measurement as a roundness
measurement. You must also specify the rotation rate, sample rate, and if the measurement
program shall be mastered by rotation. See section 3: To setup the measurement program
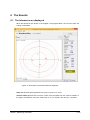
To show the roundness measurement form
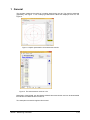
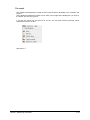
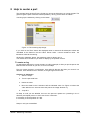
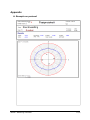
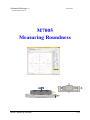
The image in Figure 1 is displayed by M7005 's drop-down menu "Applications/Roundness
measurement". The picture has its own button that you can put out on the M7005’s button panel
by "Tools/Adjust Status- and Button Panel”.
Mastering
If you only are interested in the ovality, i.e. the difference between the maximum and minimum
radius, there is no need for mastering and there no use of tolerances. On the other hand, if you
like to know the measurements absolute value, you must, as always, do a mastering. Mastering
can be done in two ways, either by having a reference ring rotate one revolution (mastering by
rotation), or by putting a master between the center of rotation and the transducer (regular
mastering).
More information in part 4 Mastering.
Measuring
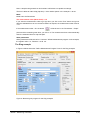
Place the part in the measuring position.
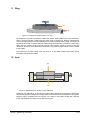
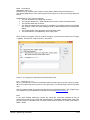
For the ring example, the ring has to be centered. In order to make it easier there is a window
"Help to center a part" see section 8.
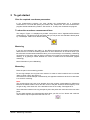
The radius in the shaft example is measured by two opposite transducers and in this case there
is no need for centering.
Note:
The centering does not have to be absolute since the program compensates for differences
between the tables rotation center and the center of the part. However this discrepancy must
not get too big, when about 4% of the deviation enters in the ovality. See Appendix C.
The measurement starts in the ring example by the index pulse and continues to the next index
pulse.
For the shaft example, the measurement starts when you click on "run" button and continues
until the time a lap is expected to take has run out.
M7005 – Measuring roundness
5 (24)