1
C. Configure V200 SIP
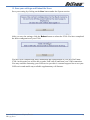
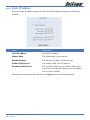
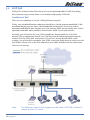
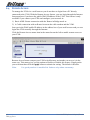
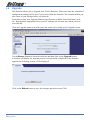
On the V200 Configuration page, click the SIP button will bring a SIP configuration page.
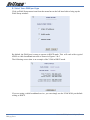
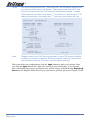
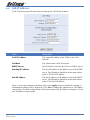
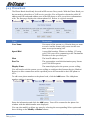
The following screen shows you an example of SIP configuration of the V200 which will
allow the V200 to use “630801” and “683752” as its VoIP phone number and authentication
ID to register on “fwd.pulver.com” SIP server. It will also show the use of STUN for
traversing your router’s NAT/Firewall.
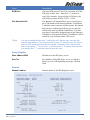
Type in your SIP account information provided by your VoIP service provider in this
page. The most common parameters are: Phone Number (also called SIP user name),
Authentication ID, Authentication password, SIP proxy host Address and SIP proxy Port
and Domain address. There are two VoIP accounts in this page - Account 1 and Account
2, which represent Phone1 and Phone2 respectively. By default the Phone 2 (Account 2)
is disabled. So if you only have one SIP account, you can simply configure the account
in Phone 1 (Account 1) and leave the Account 2 disabled as its default. If you have two
accounts, you need to enable Account 2 before you configure it.
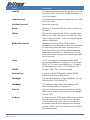
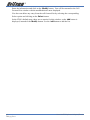
If you have a VoIP account, you need to choose YES in the UseProxy option (the default
setting of this option is in Non-Proxy mode). Then you can input SIP Proxy/Register server
information and let the V200 register with the specified SIP server.
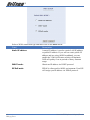
The Internal Call* option allows you to specify how the V200 handles calls between Phone
1 and Phone 2 when they have separate VoIP accounts. By default this feature is enabled and
allows you to route the calls locally between Phone1 and Phone 2 (i.e. In this case there is
no traffic going through to the Internet). If disabled, calls between Phone1 and Phone2 will
be routed by your VoIP providers’ SIP server.
V200 VoIP Telephone Adaptor/Router
YML795 Rev1
21