1
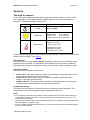
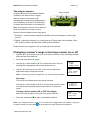
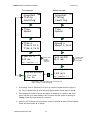
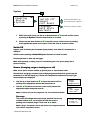
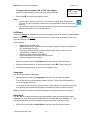
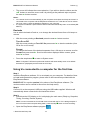
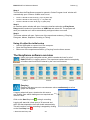
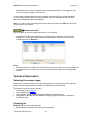
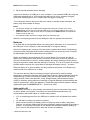
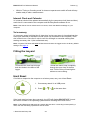
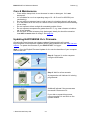
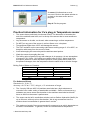
EASYSENSE Vu Reference Manual DO241 (1) The plug-in sensors Sensor sockets Plug the sensors into the sockets labelled A and B on the back of the Vu logger. When a sensor is connected it will automatically be detected and displayed on the LCD display as A and/or B (depending on which input the sensor is connected to). Note: All Temperature sensors will use the same range (as selected for the built-in sensor). Sensors can be divided into two main types: 1. Analogue – used to measure physical quantities such as temperature, sound, light, pH, etc. 2. Digital - switch-type sensors (e.g. Light gates and Timing mats) that are either ON or OFF and are used to calculate time, speed and acceleration. Please contact your supplier for an up-to-date list of Vu sensors. Changing a sensor’s range or turning a sensor on or off • Use the up or down buttons (▲▼) to scroll the list until the cursor is pointing at Meter and press the enter button ►. • Press the enter button ► again. • Use the up or down buttons (▲▼) to move the cursor until it is pointing at the appropriate sensor and press enter ►. • ▼ Use the ▲▼ buttons to move the cursor until it points at the appropriate option and press enter ►. Sound ► Light Temperature ▲ ▼ Light ► Set range Turn Off Note: If a sensor only has one range then only Turn Off will be available. Set range The cursor will indicate the current range selected. Use the up or down buttons (▲▼) to scroll the list until the cursor is pointing at the required range. Press enter ► to select the range. Turning a built-in sensor ON or OFF the display With the cursor pointing at Turn Off or On press enter ►. • Press the stop button to return to the Meters window. ▼ ► 0-1k lx 0-10k lx 0-100k lx Light Set range ►Turn Off ▲ Note: If you change a sensor’s range or turn it on/off via the logger while connected to a computer, it maybe necessary to select New © Data Harvest Group Ltd. in the software for these changes to be detected. 6