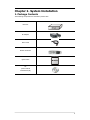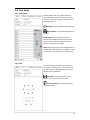
1
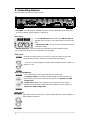
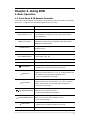
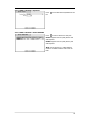
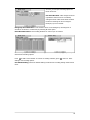
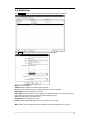
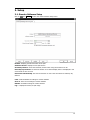
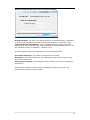
ZOOM Button
PIP Button
Zoom current camera
image on screen.
Change to PIP screen mode from live screen.
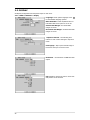
FREEZE Button
Freeze current screen.
AUDIO Button
Select channel for live & playback audio output.
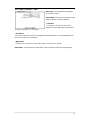
OSD Button
Turn on/off OSD display.
LOG Button
Check system log information.
ID Button
Select DVR system ID. (Remote controller only)
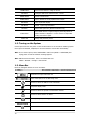
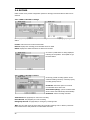
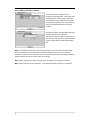
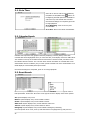
Press E.REC button to apply Emergency Recording Mode for
E.REC Button
whole channels. It displays "!" on the screen. To stop E.REC
mode, press button again.
Status LED
Power, HDD, Network, Alarm
1-2. Turning on the System
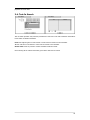
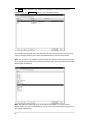
Connect power and turn the power on DVR. It takes about 10~30 seconds in initializing system.
Once system is initialized, it displays live screen and start to record video automatically.
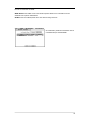
Note: To turn off the system, select SHUTDOWN in main menu (MENU > SHUTDOWN) and
unplug power cord when shutdown message appears.
Note: HDD should be formatted when it is installed first time.
“MENU > RECORD > Storage > HDD format”
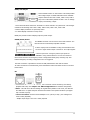
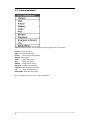
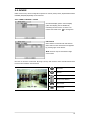
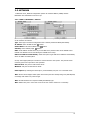
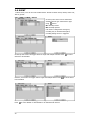
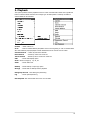
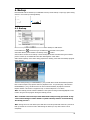
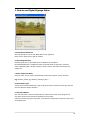
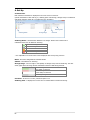
1-3. Menu Bar
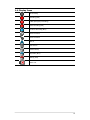
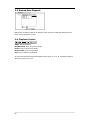
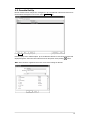
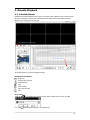
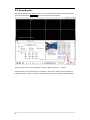
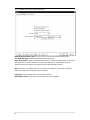
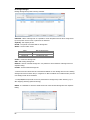
Menu bar will appear bottom of screen as follows.
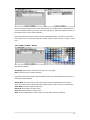
Press Menu to open main menu list.
Show used space as % of HDD being used.
Turned on when the HDD is set as overwritten.
Sequence display mode.
Turned on when the system is connected to network.
Turned on when Alarm is on active.
E.REC (Emergency Recording) Mode.
Display date & time.
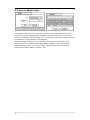
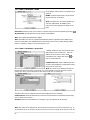
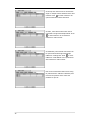
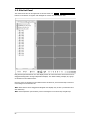
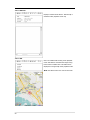
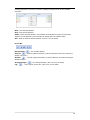
IR Remote Controller
14