1
Users Guide
Analyzing Patient Data
b.
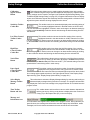
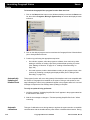
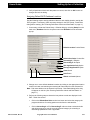
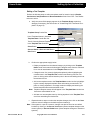
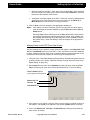
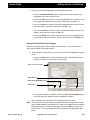
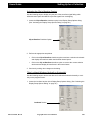
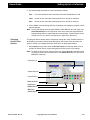
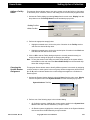
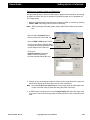
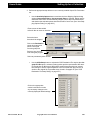
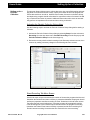
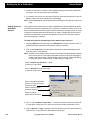
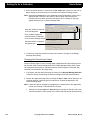
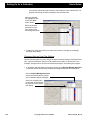
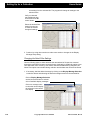
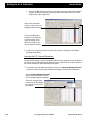
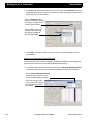
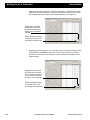
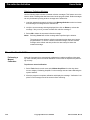
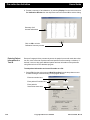
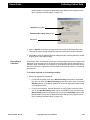
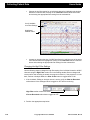
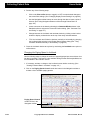
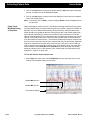
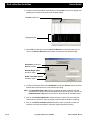
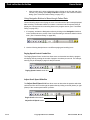
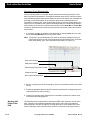
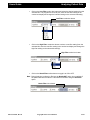
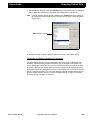
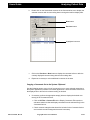
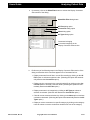
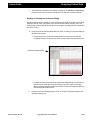
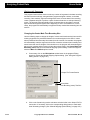
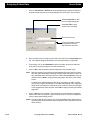
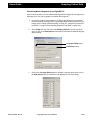
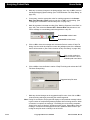
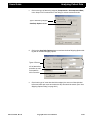
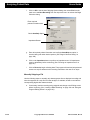
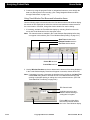
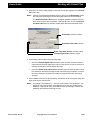
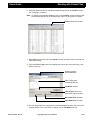
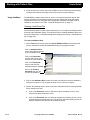
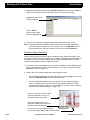
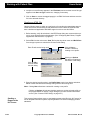
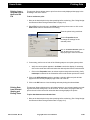
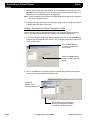
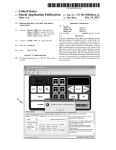
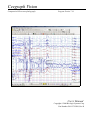
Select Setup from the main menu and Stripping Options from the drop-down
menu to activate the Manual Stripping Options dialog.
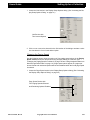
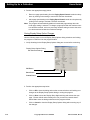
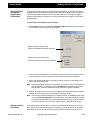
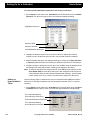
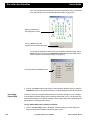
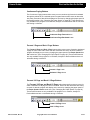
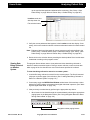
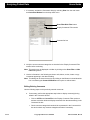
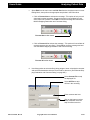
Click on the desired output format
to activate a selection bullet
Center-Mark Time Boundary text box
Include Digital Video Checkbox Option
Destination combo box button
OK button
Save Choices button
c.
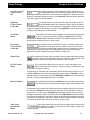
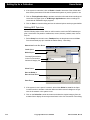
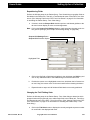
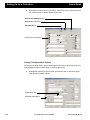
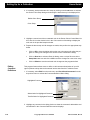
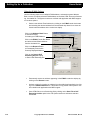
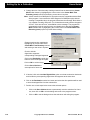
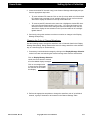
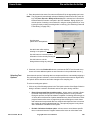
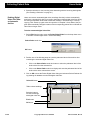
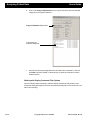
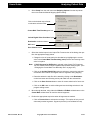
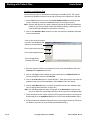
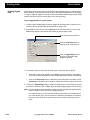
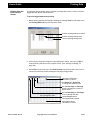
Select the desired output in the Output File Format section of the dialog, then perform the appropriate step(s) below.
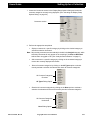
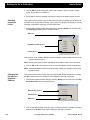
• Change the size of center-mark time boundaries by highlighting the current
value in the Center-Mark Time Boundary (msec) text box and entering a new
value in its place.
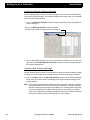
Note:
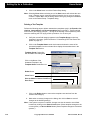
If ASCII Segment for BA/Dipole is selected in the Output File Format section, the entered value must be compatible with the Brain Atlas program. (See
“Changing the Center-Mark Time Boundary Size” on page 144.)
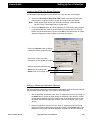
• Click on the Include Digital Video option to activate or remove the selection
checkmark and include or omit digital video file segments during stripping.
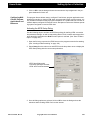
• Determine where the strip file will be stored by clicking on the Destination
combo box button and selecting a drive path label from the activated list.
• Click on the Save Choices button to save all current selections for future use.
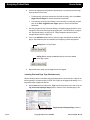
• Click on the OK button to exit the dialog and use the dialog selections in the
program editing screen.
d.
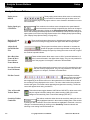
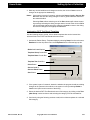
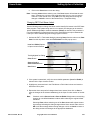
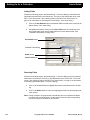
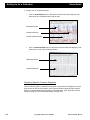
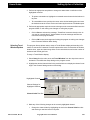
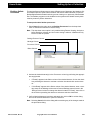
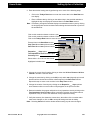
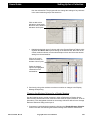
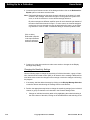
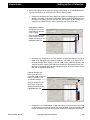
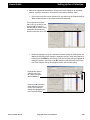
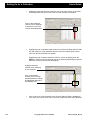
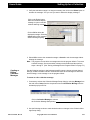
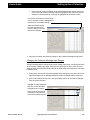
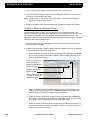
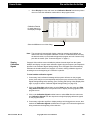
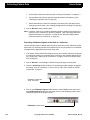
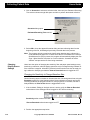
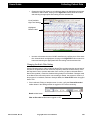
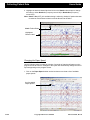
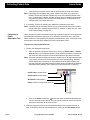
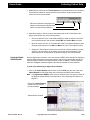
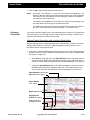
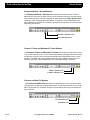
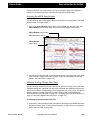
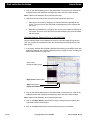
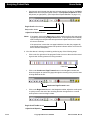
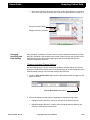
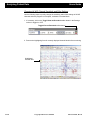
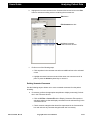
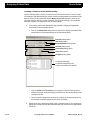
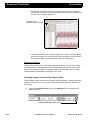
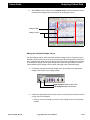
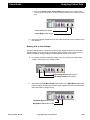
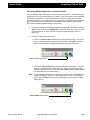
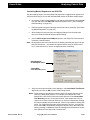
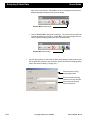
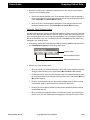
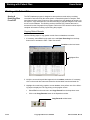
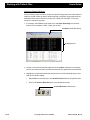
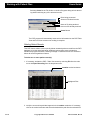
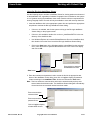
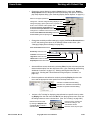
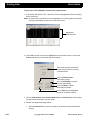
Move through the data, using either the L-Mark and R-Mark toolbar buttons or the
Center Mark toolbar button to mark the desired segments.
e.
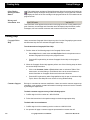
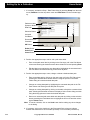
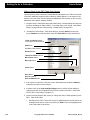
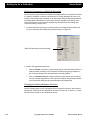
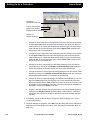
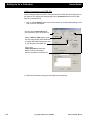
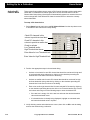
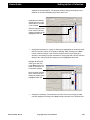
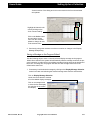
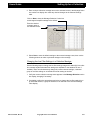
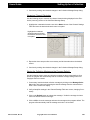
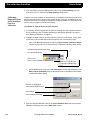
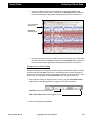
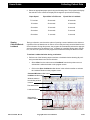
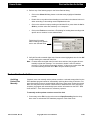
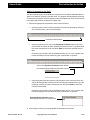
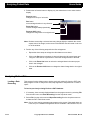
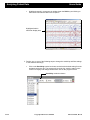
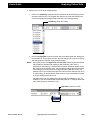
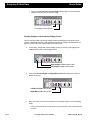
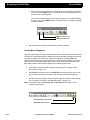
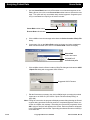
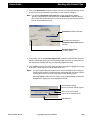
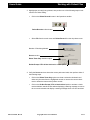
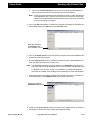
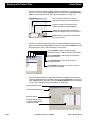
Perform the appropriate step below when all segments are marked.
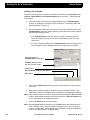
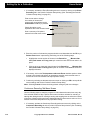
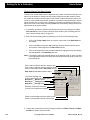
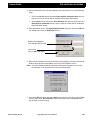
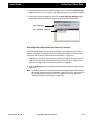
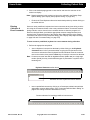
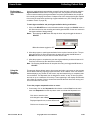
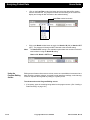
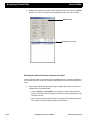
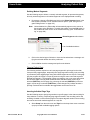
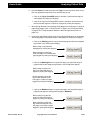
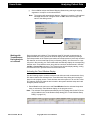
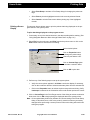
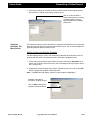
• Click on Process New to activate the message: “This option will only consolidate newly marked segments. Segments previously consolidated into strip
590-CGVUM1, Rev B
Ceegraph Vision Users Manual
2-161