1
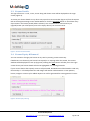
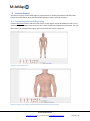
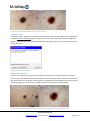
If the number of images is too great for the screen display, a red marker and the total number of
images will be displayed on the location image (Figure 22) to advise the user of all available images.
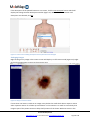
To undo an image association, simply drag the image back to the import pane. Imported images that
are not assigned will remain in the Import pane, for future association with any other lesions.
9.2 Converting Image Labels
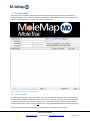
DermLite DLCam images are automatically imported to MoleTrac and assigned as the correct image
type. If you are not using a DermLite DLCam, only images with a focal length between 0 – 30mm will
be labelled as microscopic images. All other images will be labelled as macroscopic.
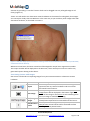
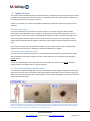
In the unusual event that a microscopic image has been incorrectly labelled as macroscopic (or viceversa), drag the image onto the CONVERT MAC <–> MIC button.
*Note: If images are not correctly labelled they will not be correctly grouped together in MoleTrac.
9.3 Saving and Deleting Images
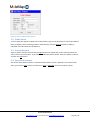
Images that are assigned to lesions will be saved under the Lesion screen (and removed from the
Import screen) once the patient session has been completed.
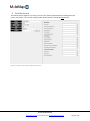
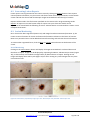
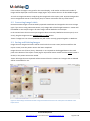
Images that are out-of-focus, blurry, distorted, or not required can be dragged down to the trash
pane at the bottom of the Import screen (Figure 23) and will remain visible until the Delete button is
clicked, or the patient session has ended.
*Note: All images that are imported will be removed from the camera card. Images that are deleted
will be irretrievable for use.
Figure 23: Delete Image confirmation window. Image to be deleted is shown in the Trash pane at the bottom of the
Import screen.
© 2013 MoleMap NZ Ltd
www.MoleTrac.com ● +64 9 520 8220 ● [email protected]
Page 21 of 27