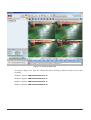
1
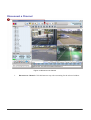
Manually input
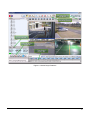
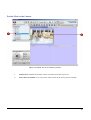
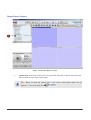
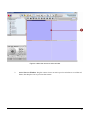
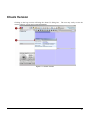
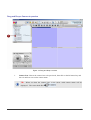
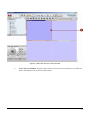
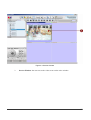
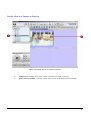
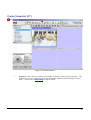
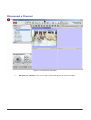
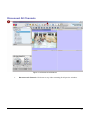
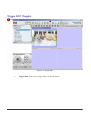
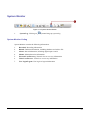
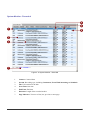
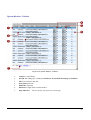
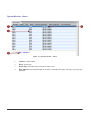
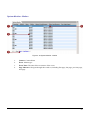
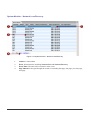
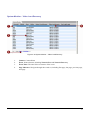
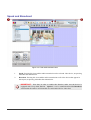
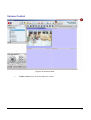
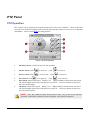
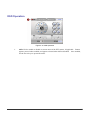
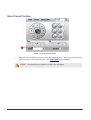
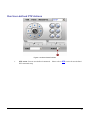
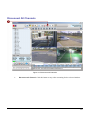
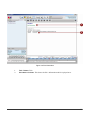
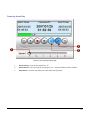
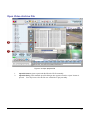
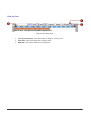
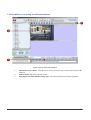
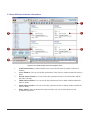
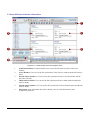
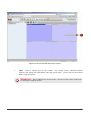
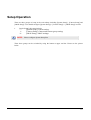
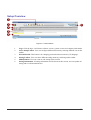
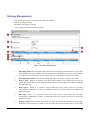
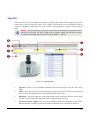
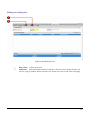
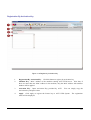
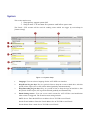
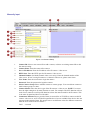
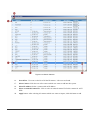
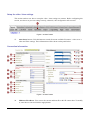
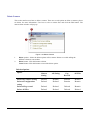
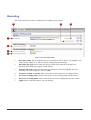
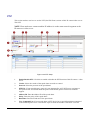
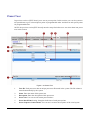
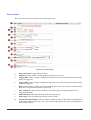
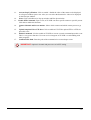
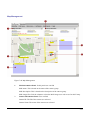
Figure 7-18 Camera Setup
1.
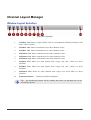
Camera ID: Select a new camera ID to add a camera; or Select an existing camera ID to edit
the camera setting..
2.
Camera Name: Enter the name of the camera.
3.
Server IP Address: Enter the IP address of the IP camera / video server.
4.
HTTP Port: Enter the HTTP port for IP cameras/ video servers.
5.
Channel Number (for Multi-channel video server only): Enter the channel number of the
video server. If user is using IP camera or 1-channel video server, please enter 0 here.
6.
User Name: Enter the user name to login the camera.
7.
Password: Enter the password to login the camera.
8.
Select Camera Group: Please add this camera to camera groups. User can add one camera to
multi-camera groups at a time.
9.
Camera Model: Select the device type of the IP cameras / video servers. NOTE: User must
have the right setting here for many function to work. For example: The PTZ function will not
work if user connects to an IP speed dome but selects the camera model to be IP camera. This
is the same for Quad and devices with audio.
10.
Connection Timeout: Enter a period of time (in second) for ACTi NVR to connect to this IP
camera / video server. ACTi NVR will regard the device as not available if the device does not
response in this period of time. We suggest user to set different values for different connection
from the ACTi NVR to the IP camera
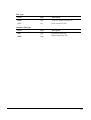
LAN
: 1 second
202