1
Chapter 1
Copying Audio and Listening to Copied Audio (MADI Recorder Setup)
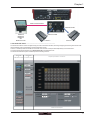
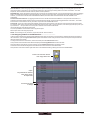
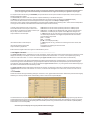
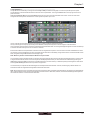
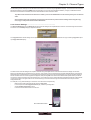
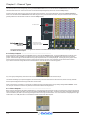
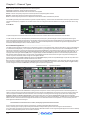
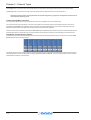
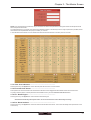
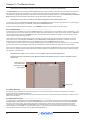
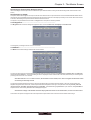
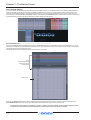
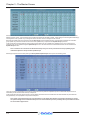
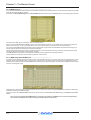
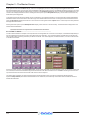
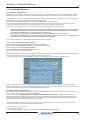
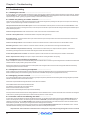
Audio from one or two D-Racks can be copied to the MADI Port 3 Output by selecting the incoming Port(s) in the Ports list and using the
Copy Audio To drop down menu. For example, if you want to copy D-Rack 1 and/or D-Rack 2 Audio Inputs to a MADI equipped recorder
connected on Port 3, select Rack 1 in the ports list and then select Port 3 from the Copy Audio To drop down menu. Then repeat the
procedure for Port 2 copying this to Port 3 as well. The 32 inputs on Rack 1 and the first 24 inputs on Rack 2 will be copied to Port 3 and
can be recorded as necessary.
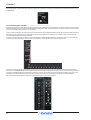
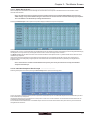
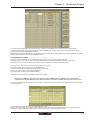
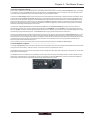
In addition, by connecting the recorder's MADI Output to the console's MADI 3 Input, the playback can be monitored in the same channels
as the original source material. Just press the Listen To Copied Audio button to monitor playback and press it again to return to
monitoring the live sources from the rack.
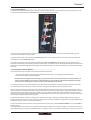
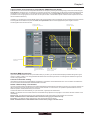
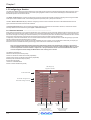
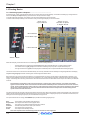
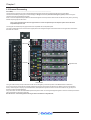
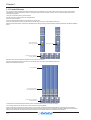
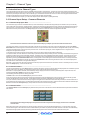
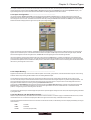
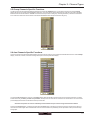
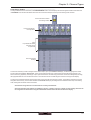
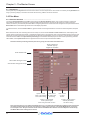
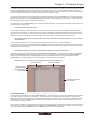
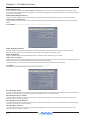
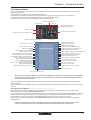
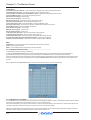
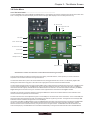
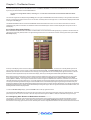
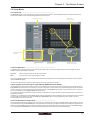
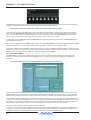
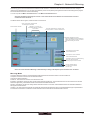
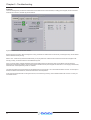
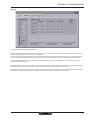
Edit the Port Name here.
Eg. Stage Rack, Local Rack etc...
Analogue Line Out
Socket with -10db Pad
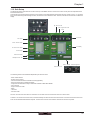
Edit Global or Individual Rack
Shared status...
Auto-Conform All function automatically conforms entire
rack...
Select Card Type manually or
using Auto-Conform function,
and edit Group Name
Selected Socket Properties
Edit Name and Socket options.
Standard MADI Connections
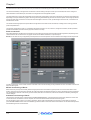
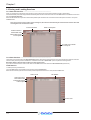
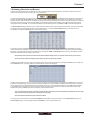
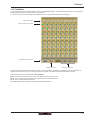
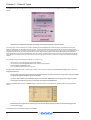
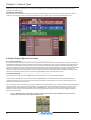
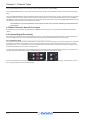
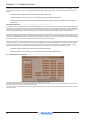
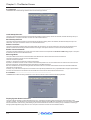
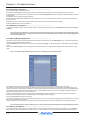
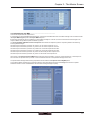
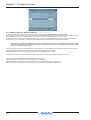
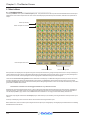
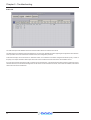
If you have a standard MADI connection (not a DiGiCo Rack) to your SD9, you can set the SD9 to display the MADI with generic signal
names, i.e. MADI 1, MADI 2.. etc. through to MADI 56 instead of the usual rack style names. The naming does not affect the signal, but
makes routing signals easier.
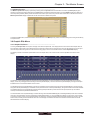
Console to Console routing
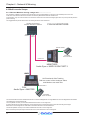
If two DiGiCo consoles are connected together using MADI, it is possible to route audio between them. The Port that is connected to the
second console should be defined as a Standard MADI Connection.
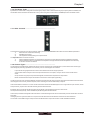
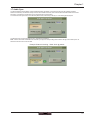
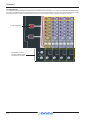
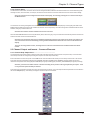
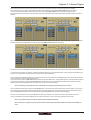
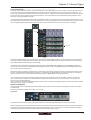
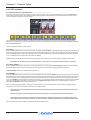
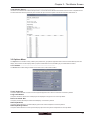
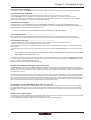
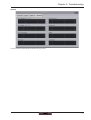
Isolate / Receive Only / Full Control
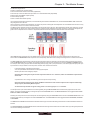
In a multi-console system where Racks are connected with MADI and shared between two DiGiCo Consoles, only one of the consoles can
take control of the rack, with respect to Gain, Phantom Power and Pads. To overcome this, it is possible to place the SD9 into one of 3
states of operation; Isolate, Receive Only or Full Control.
These three states can be set individually, on a per rack basis, or globally for all shared racks.
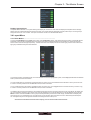
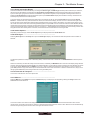
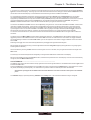
Isolate : The SD9 will not communicate with the rack and therefore any adjustment of input gain or +48V switch will have no effect on the
rack settings
Receive Only : The SD9 will receive the rack’s existing settings but will not be able to control the gain etc on the racks.
NOTE: The Network Panel / Audio Master button must be inactive (grey) to set Receive Only.
Full Control : The SD9 will send its settings to the racks and change them accordingly.
NOTE: The Network Panel / Audio Master button must be active (orange) to set Full Control.
1-11