1
Micros 60
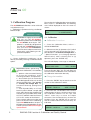
1.3. Service Functions
Several service functions are available for the
operator to clean and check the instrument
These functions are accessable from the Main
Menu. Use the “Down “ arrow to select 4 SERVICE. Press the “ENTER” key to access
these sub-menus as indicated on the display:
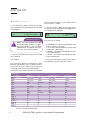
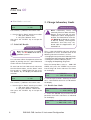
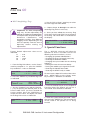
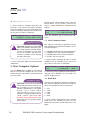
SERVICE
12:20
> 1 - BACKFLUSH
2 - DRAIN CHAMBERS
Backflush
This service function will allow the operator to
clean the counting chamber apertures in case
of blockage. From the Service Menu, select 1 BACKFLUSH, then press the “ENTER” key to
start the process. This cycle takes
approximately (20) seconds to complete.
• Open the instrument door and verify that
liquid is being pulled through the apertures.
(watch for few micro-bubbles in the count
tubing, coming from the count head).
• When the backflushing starts, verify that liquid
is being pushed back through the apertures.
(watch for few micro-bubbles coming into the
chambers through the count head).
• If you cannot see any micro-bubbles moving
through tubing or in the chambers, the aperture
may still be blocked. In this case, perform a
Concentrated Cleaning.
Drain Chambers
This service function will allow the operator to
check for proper chamber draining and to
maintain some of the parts of the hydralic
manifold as it flushes waste out of the
instrument.
• This cycle takes approximately (7) seconds
to complete. From the Service Menu, select 2 DRAIN CHAMBERS, then press the “ENTER”
key to darin the chambers.
4
• Verify the proper draining of the waste through
the waste tubing located on the back of the
instrument. if it is not flushing waste sufficently,
check the waste tubing connection and verify
that there is no blockage or crimping of the
tubing.
• Verify that both the WBC and RBC chamber
are draining properly, not slow but fairly rapid.If
not, view the troubleshooting section.
Prime Reagents
This service function will allow the operator to
prime reagents either individually or all at once,
depending on the type of system you have.
(Separate Reagents or Minipak).
• From the Service Menu, select 3 - PRIME
REAGENTS. There are (2) types of ABX MICROS
60 systems:
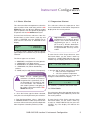
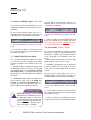
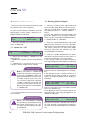
1 - BOTTLE SYSTEM (Separate reagents). The
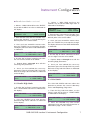
prime reagents sub-menu will indicate:
1 - ALL REAGENTS
2 - DILUENT
3 - LYSE
4 - CLEANER
• Press the “ENTER” key to access this submenu for bottled units. Select the reagent or
reagents to be primed, then press the “ENTER”
key to start the prime cycle.
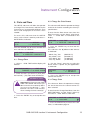
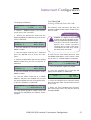
2 - PACK SYSTEM (ABX Minipak-all reagents
contained in (1) pack). Diluent ,Lyse, and
Cleaner. The Prime reagents sub-menu will
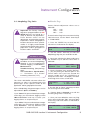
indicate:
1 - CHANGE PACK
2 - CAPACITY
3 - PRIME PACK
• Press the “ENTER” key to access this submenu. Select either Changing the Pack if the
present pack is low, or Priming the current pack
if the cycles are sufficient. Step by Step
instructions will be given on the display when
installing a Minipak.
RAB 043 CAS /section 6: Maintenance and Troubleshooting