1
23-October-2007
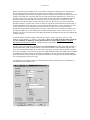
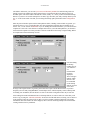
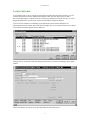
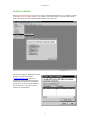
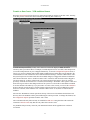
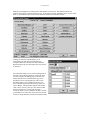
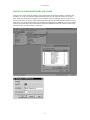
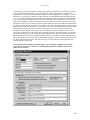
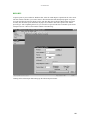
designated as “R” (range of values) or “E” (list of acceptable entries, otherwise known as a picklist).
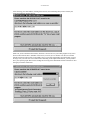
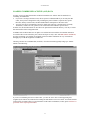
Ranges are entered into “Min” and “Max” screen prompts, which appear if a field is selected that has an
“R” edit check type. Fields with an “E” edit check type use the notation “R=Radiation,C=Chemotherapy”,
for example, to enter the set of valid codes. There must be no spaces in this list, so you may want to use the
underscore character to separate words (e.g. 1=No,2=Life_Threatening). The equal sign and explanation
are strictly optional, so Y,N,X=Unknown is a perfectly good picklist with three options. Pressing the F10
function key will display the picklist for the current field, if one exists. See “Special Picklist Codes” for
more picklist details.
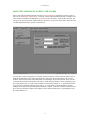
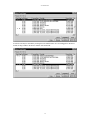
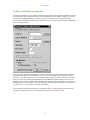
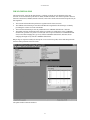
If a particular study will use the same (or almost the same) form structure, but different edit checks, click
on the Change button for the labels record having the identical structure. Next, change the Protocol from its
current setting (usually 00000000) to the protocol number for the new study. Keep the labels the same and
specify the edit checks required. Note that during data entry, ACES® will apply any edit checks from
the generic 00000000 form to fields in a protocol specific form if no protocol specific edit checks have
been defined. In order for these “backup” edit checks to work properly, the field name in the new
protocol specific form must be identical to the corresponding field in the generic 00000000 form.
NOTE that during data entry, “backup” picklists will not cause the field prompt to be underlined,
yet the picklist will still be operational. If you do not want the backup edit checks to affect your new
protocol specific form, you must either define all new edit checks for each field that has a
corresponding edit check in the generic 00000000 form, or alter the names of such fields in your
form. When you click on the OK button, a new Labels record will be inserted, leaving the original one
intact. It will not be necessary to add Types for these fields, but you will need to add field lengths. See
"Assigning Field Lengths". Also see Protocol Specific picklists in the Protocol Abstract section.
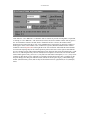
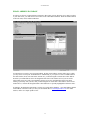
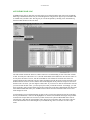
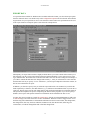
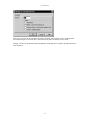
To insert a new record, click the Insert button and enter the key fields. After key field entry is complete, reenter the record in “Change” mode to add the non-key field labels and all desired edit checks. Note that for
files capturing laboratory information linked to the lab normals file (i.e. the “Uses Labcode?” flag in the
FormID record is equal to “Y”), simple ranges are not used for edit checking since multiples of the normal
range values are automatically used instead.
Certain files in the standard database definition, EX and LX, are designed to allow multiple sets of field
labels based on the protocol identifier and a code field called “panel”. In these cases, depending on which
protocol and panel number is selected, different field labels will appear on the associated entry forms and
reports. If you decide to add a new EX or LX file definition, please refer to an existing EX or LX file so
that the correct fields are defined. In all study installations, at least one dummy EX and LX form has been
included for reference purposes. In particular, the key fields for these files must be: FormID, Protocol,
Patient, Date, Time, and Panel. In addition, for the EX file only, the first two non-key fields must be
“SiteID for Labcode” (an eight character string), followed by a 4 digit integer “Labcode” field. All non-key
fields after these must be pairs of fields with the first being data type “Real” and the second being a one
character associated “Significant?” flag, for the EX file. For the LX file, all non-key fields must be defined
with a “String” data type. See “Special EX and LX considerations” for more details.
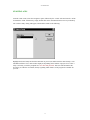
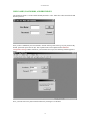
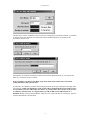
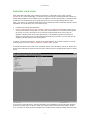
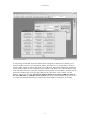
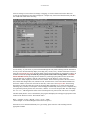
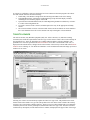
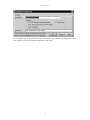
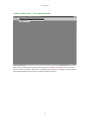
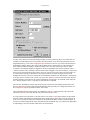
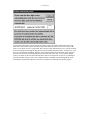
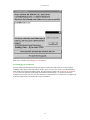
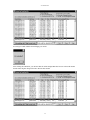
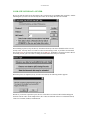
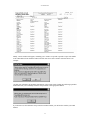
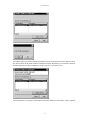
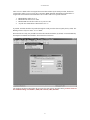
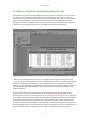
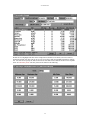
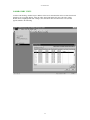
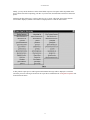
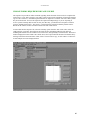
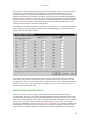
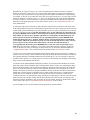
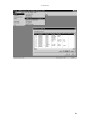
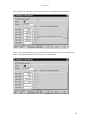
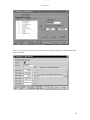
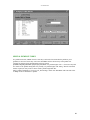
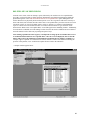
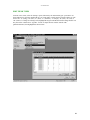
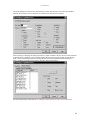
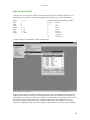
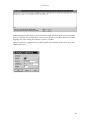
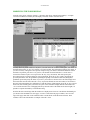
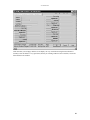
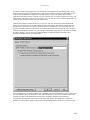
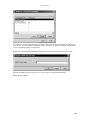
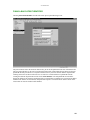
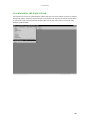
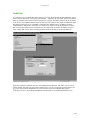
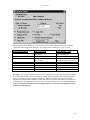
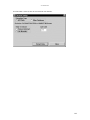
Several examples of various forms and associated edit checks are presented below.
88