1
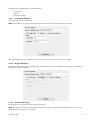
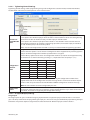
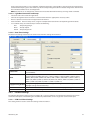
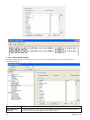
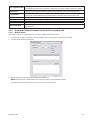
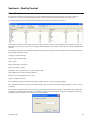
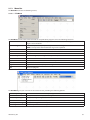
10.1.1 Steps to assign a name to an IC-PCM/QX Tool:
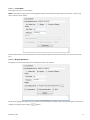
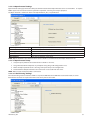
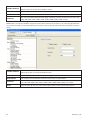
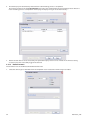
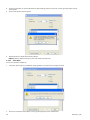
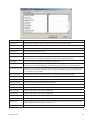
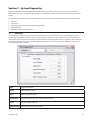
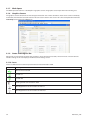
1. From the ICS menu, click Name Assignment and select IC-PCM/QX, ICS opens the IC-PCM/QX Name Assignment
screen.
2. Click on the respective “Name” column and enter the name.
3. Click on Save button.
4. The ‘name’ of the IC-PCM/QX tool will now be displayed in all screens.
NOTE: Following are the rules applied while assigning a name.
a) Only alphanumeric values are allowed.
b) Maximum allowed length is 30 characters.
c) Special characters ‘-‘.’_’, and ‘/’ are allowed.
d) The name must start with a letter.
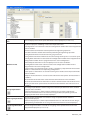
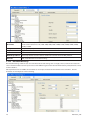
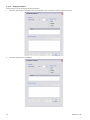
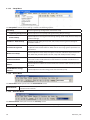
10.1.2 Steps to Unassign a name for an IC-PCM/QX Tool:
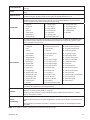
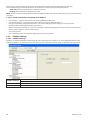
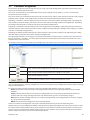
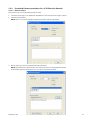
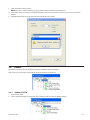
1. From the ICS menu, click Name Assignment and select IC-PCM/QX, ICS opens the IC-PCM/QX Name Assignment
screen.
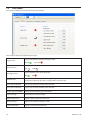
2. Select the job-id of the controller/tool you wish to un-assign.
3. Click on the Unassign button.
4. The IP Address / Job-Id of the IC-PCM/QX tool will now be displayed in all screens.
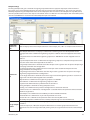
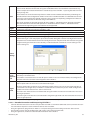
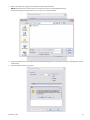
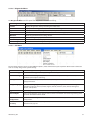
10.1.3 Steps to Unassign all names for the IC-PCM/QX Tools:
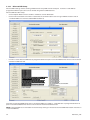
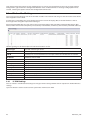
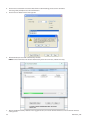
1. From the ICS menu, click Name Assignment and select IC-PCM/QX. ICS opens the IC-PCM/QX Name Assignment
screen.
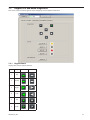
2. Click on the Unassignall button.
3. The IP Addresses / Job-Ids of the IC-PCM/QX tools will now be displayed in all screens.
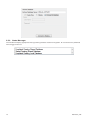
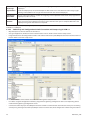
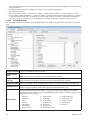
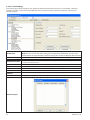
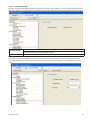
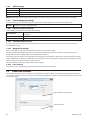
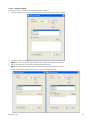
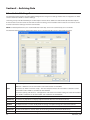
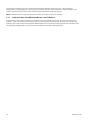
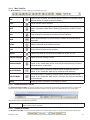
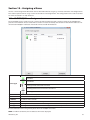
10.2 Configuration Name Assignment
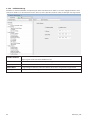
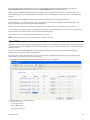
This screen is used to assign names to configurations for a QX series tool.
9648619696_ed2