1
Lesson Presentation
12 Invasive Pressures Monitoring
Additional points/notes:
________________________________________________________________
________________________________________________________________
________________________________________________________________
________________________________________________________________
________________________________________________________________
Selecting a Pressure to Monitor
Demonstrate how to select a pressure to monitor on the MRx.
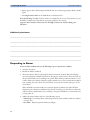
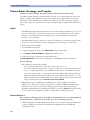
• You need to assign a label to each pressure channel as it is connected. Channels are identified as Press
1 and Press 2.
• Once you select a label, the MRx uses that label’s stored information (color, alarm source and limits,
scale) as the default. Check each pressure channel label as the cable is connected and make changes
as appropriate.
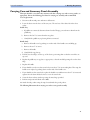
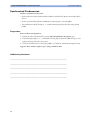
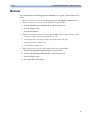
To select a pressure label:
1. Press the Menu Select button.
2. Using the Navigation buttons, select Measurements/Alarms and press Menu Select.
3. Select Press 1 (or Press 2) and press Menu Select.
4. Select Label and press Menu Select.
5. Select the appropriate label from the list provided (see pressure label list below) and press Menu
Select.
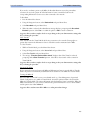
6. Verify and change the size of your scale, as appropriate. (Reference the “Pressure Waves” topic, as
needed.)
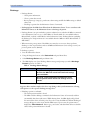
7. Verify and change the alarm source type, as appropriate. (Reference the “Alarms” topic, as
needed.)
8. Set the high and low alarm limits.
Repeat the above steps to label the other pressure channel.
Suggestion: Have students complete the above steps during or after your demonstration.
Note the following: Changing a pressure label activates scales and alarm settings associated with the
new label. Controls for scale and alarm settings appear after selecting a label to either confirm or adjust
the value.
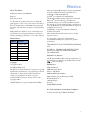
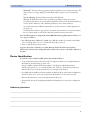
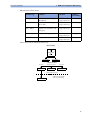
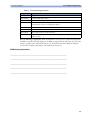
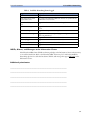
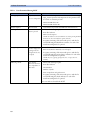
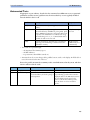
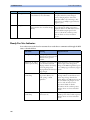
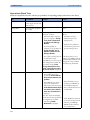
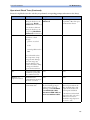
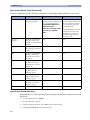
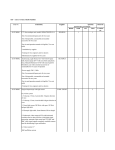
Mention all the available pressure labels listed in the following table.
123