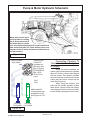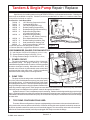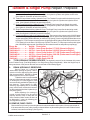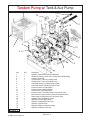
1
Mower Repairs / Rear Mower
Rear Three Point Mower Connection:
1.
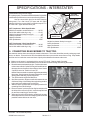
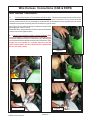
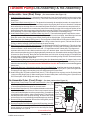
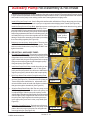
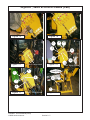
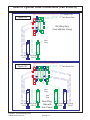
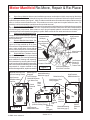
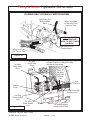
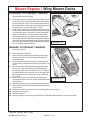
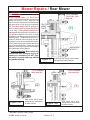
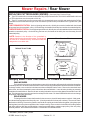
Install Rear Lift Chains Option. Rear lift chains will
replace three point lift links using the same pins you removed
from lift links. These chains allow mower to float with contour of
the ground. These are optional equipment and may or may not
have been ordered. (See Figure 1, 2 & 3). Note: Shown below
is a New Holland Tractor in figure 1, 2 & 3. The John Deere
check chains will mount the same.
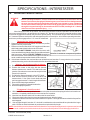
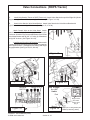
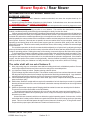
The Rear Mower is a standard Three Point Hitch mounted
2.
mower that is PTO driven through driveline. It is sent already
assembled with driveline tied to it. (See Figure 1)
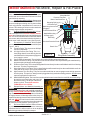
Connect Lower Hitch Pins. Lower hitch pins connect to
3.
lift arms of the tractor with click pins, pins are furnished with
mower. (See Figure 5 & 7). It 's best to connect lower arms of
three point first. You will use the lower arms of tractor
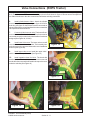
Connect Upper Hitch Pin. Upper hitch pin will connect
4.
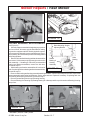
to top three point adjustable Link with pin and click pin. Top Link
is furnished with tractor not with mower. Top Link is adjustable
in length and is used to level the mower. (See Figure 8).
5.
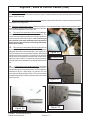
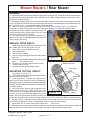
Connect Driveline . Driveline is tied to the mower (See
Figure 6 & 9). Cut the ties loose from mower. Connect the
clutch end of the driveline to the mower, the clutch is retained
to the gearbox input shaft by a clamp yoke on clutch hub. Slip
the clutch onto the input shaft until holes in clamp yoke are
aligned with the grooves in the input shaft. Install and tighten the
two bolts and nuts. The QD Yoke end connect to the Tractor
PTO.
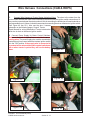
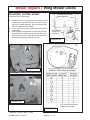
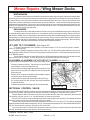
Leveling the Rear Mower . The Rear Mower is leveled
6.
with the top Three Point Link. The Cutting Height is adjusted by
moving the Roller up or down by change the bearing bracket
mounting hole. There is a decal on the deck next the Operators/
parts manual cannister (See Figure 10 & 11)
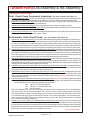
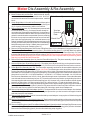
7. Rear Mower Completely Connected. With the rear
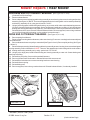
mower completely connected. Check all Oil levels and grease
mower components (See Figure 14) before running mower.
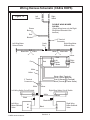
Also DO NOT start
tractor if the rest of
the assembly to the
interstater is not
done. Make certain
that all hoses, components, wiring is
completed and Oil
Tank for interstater
has been filled with
oil.
Figure 4
Figure 2
Figure 3
Figure 5
Interstater (Service Man.) 03/06
© 2006 Alamo Group Inc.
Figure 1
Section 12 - 3