1
Coupler
INSTALLATION REFERENCE GUIDE
1
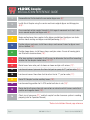
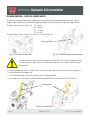
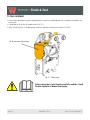
Remove Bucket if attached to the excavator dipper arm. (8)*.
2
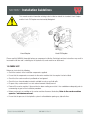
Install Quick Coupler using the carrier machine’s original dipper and linkage pins
(8,9)*.
3
Once mounted, rotate coupler through its full range of movement and check clearances around coupler and dipper arm (9)*.
4
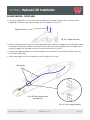
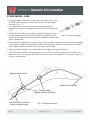
Begin routing hoses from coupler to the dipper manifold on the dipper arm to determine house routing and dipper manifold positioning (10,11)*.
5
Position dipper arm hoses, install hose clamps and connect hoses to dipper manifold as labelled (15)*.
6
Position boom hoses, install hose clamps and join unions. Ensure all moving joints
are fitted with abrasive sleeve (16)*.
7
After hose routing is completed, it will be easy to determine the best/final mounting
location for the coupler control valve (13,17)*.
8
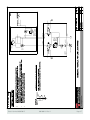
Route hoses form valve ports to hoses on boom and join with unions (17)*.
9
Locate and connect pressure line from test port on pump to “P” port on valve (17)*.
10
Locate and connect hose from tank to return line to “T” port on valve (17)*.
11
Route Tilt Coupler function auxiliary hoses (18)*.
12
Locate mounting position for I-LOCK control switches in cab (19)*.
13
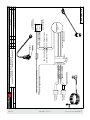
Route electrical harness from din connectors on valve to switch harness and attach
positive and negative leads (19)*.
14
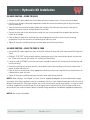
Check circuit pressures (21)* and test coupler function to ensure system is working
properly (refer to Operators Manual)
*Refers to Installation Manual page reference
Page 2
902-001-31 Rev 1
Parts & Service 01/02/2015