1
SECTION 3: Coupler Installation
3.2 REMOVE THE EXISTING BUCKET
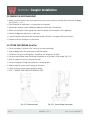
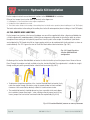
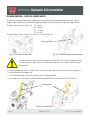
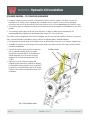
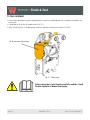
• Before you fit the coupler to the carrier machine you may have to remove an existing attachment from the dipper
arm. (Fig 3.2.1). If so…..
• Place the bucket or attachment in a safe position on the ground.
• Undo the pin retention systems holding the dipper pin and link pin in their position.
• Gentle raise the bucket off the ground and crowd the cylinder until the weight is off the dipper pin.
• Remove the dipper pin and place in a clean area.
• Lower the bucket to the ground with the crowd cylinder until there is no longer weight on the link pin.
• Remove the link pin and place in a clean place.
3.3 FITTING THE COUPLER (Link Pin)
• Ensure the coupler is sitting on a flat surface in the correct orientation.
• Align the dipper arm of the carrier machine with the coupler.
• Position the o’rings for the linkage boss assembly on the linkage boss (if fitted).
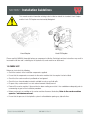
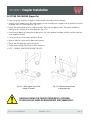
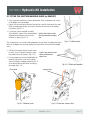
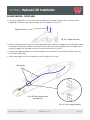
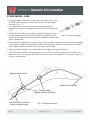
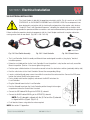
• Using the crowd cylinder lower the linkage into position on the rear boss of the coupler (Fig 3.3.1)
• Align the coupler if necessary using a bar or lever.
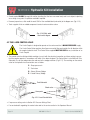
• Insert the linkage pin through the coupler boss and linkage boss.
• Align pin retention system and fix linkage pin into place.
• Locate the o’rings into the correct position (if fitted).
• NOTE – ORIGINAL OEM LINKAGE PIN MUST BE USED.
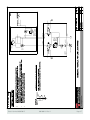
Fig. 3.2.1 Remove bucket
Page 8
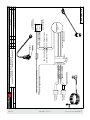
Fig. 3.3.1 Lower linkage into coupler
902-001-31 Rev 1
Parts & Service 01/02/2015